How To Rebuild A Steering Cylinder
Article by Mark Trotta
Rebuilding a leaking steering cylinder consists of removing and replacing several washers and seals that are located where the cylinder rod enters the cylinder housing. The seals not only keep it from leaking, they also act as dirt scrapers that clean the rod before it retracts into the cylinder.
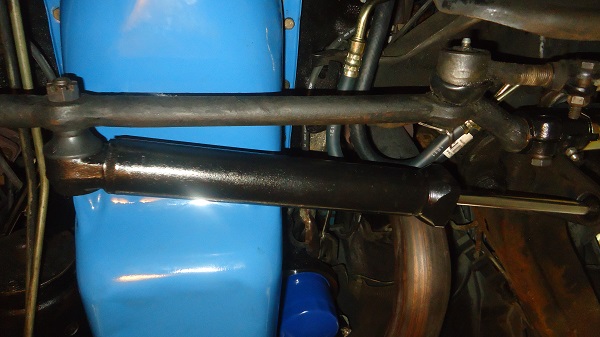
Steering Cylinder Function
The steering cylinder applies a hydraulic force to the steering gear, which in turn steers the wheels. It is often used in conjunction with a control valve. The steering wheel operates the control valve, which controls flow to the cylinder.
The steering cylinder shown in this article is from an old Corvette. The two main areas of difficulty were getting the old pieces out of the old cylinder, and not damaging other areas in the process.
P/S Cylinder Removal
The steering cylinder, sometimes referred to as a ram cylinder, is mounted between the front wheels under the engine oil pan. On one side is the rod end, which attaches to a bracket. On the other side, the ball stud end goes through a hole in the steering center link, more correctly called the relay rod.
Carefully prop your car up on jack stands.
Remove the hoses using flare nut wrenches.
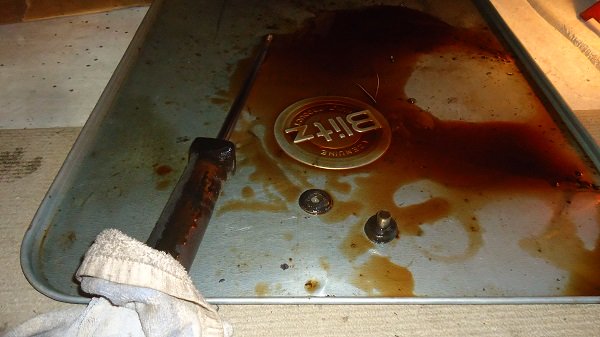
Let the p/s fluid drain out onto a drip tray.
Please dispose of steering fluid properly. It gets recycled with used engine oil.
Steering cylinder removal can be a quite a messy job. After the hoses are disconnected, do not move the front wheels or you'll spray power steering fluid all over your garage floor!
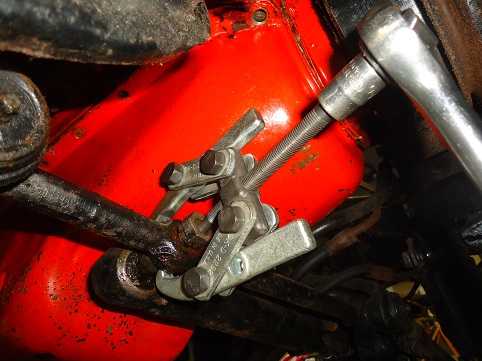
To remove the cylinder from the car, one side may be a hex nut, and the other side may require either a two jaw puller or ball-joint fork.
After removing the cylinder from the car, hold it with the ball stud up over a large tray. Push and pull the shaft slowly to drain out the old power steering fluid.
*************************
Inspecting the Cylinder
With all the fluid out, place the cylinder on a heavy rag or towel on your workbench, and look it over carefully. If the body is badly dented or if the rod binds when moving in and out of the cylinder, it may not be reusable.
Take a look the port threads and make sure the seats are OK. Also check the ball stud for excessive play in its socket.
If the shaft is bent, pitted, scratched, or missing chrome plating, the cylinder is not rebuildable.
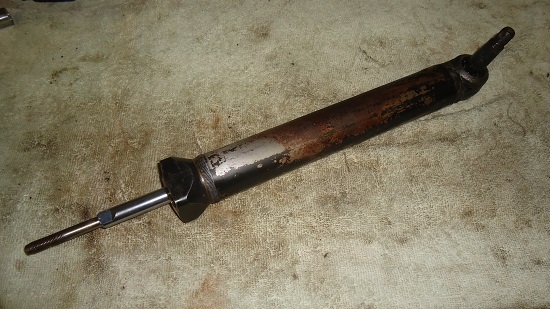
If the outside looks good, take it apart. If it comes apart easily, chances are it will go together easily.
Clean Parts Thoroughly
For cleaning, I use brake parts cleaner in a can, then compressed air to blow out any loose dirt and residual oil from the seal area. Wearing eye protection is a good idea.
*************************
Rebuild Kit
Before ordering a rebuild kit, take the cylinder apart to see if it's rebuildable.
I bought this Corvette steering cylinder rebuild kit from Amazon.
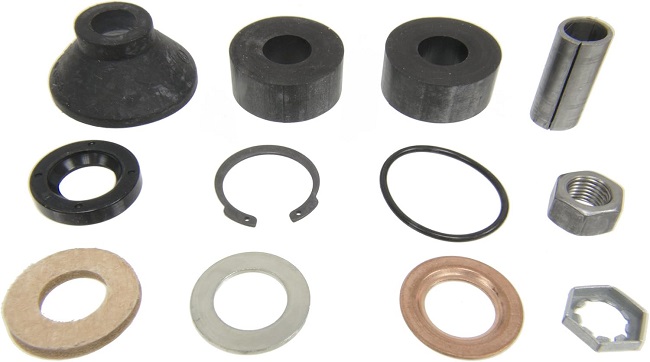
Instructions are usually not included, and most shop manuals do not describe in detail how to re-seal the cylinder. After reading this article, take notes and pictures as you take yours apart.
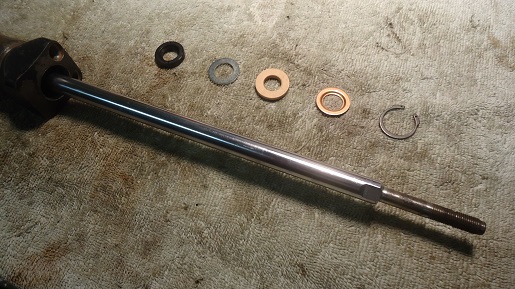
On this steering cylinder, the rebuild kit included two non-metal washers and two metal washers.
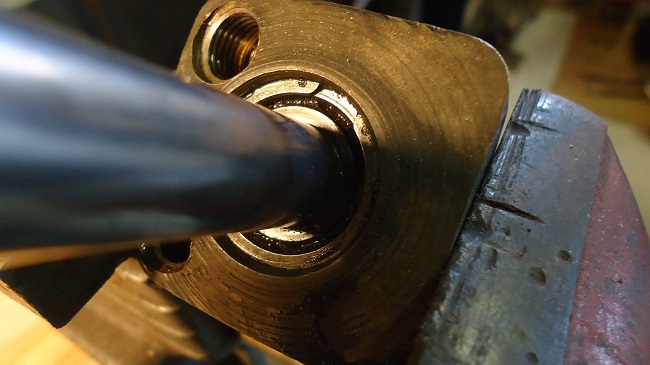
These four pieces are stacked on top of each other and held in with a snap-ring.
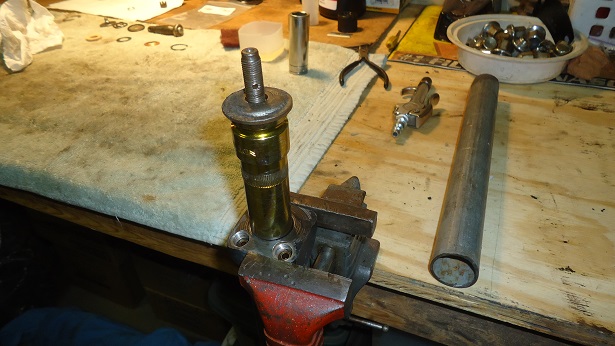
Place the cylinder upright in a vise as shown in the picture above. With a pair of internal snap-ring pliers and a small flat-blade screwdriver, remove the snap-ring and set aside.
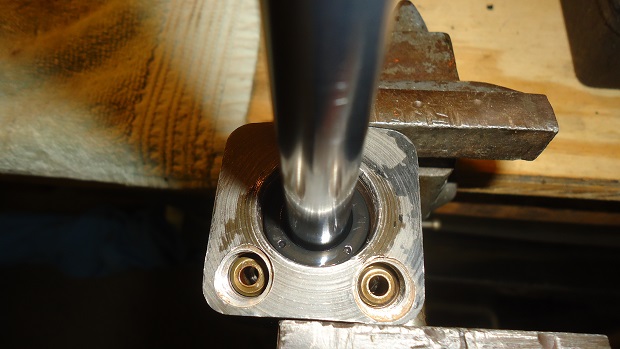
The steering cylinder that came out of this car had a hard rubber washer instead of a copper washer. I had to pick it out.
If you have a copper washer, remove the cylinder from the vise and tap the shaft on the anvil of the vise. This may jar it loose.
Under the seal/copper washer is the back-up washer. If it doesn't come out easily you'll have to pick that out also.
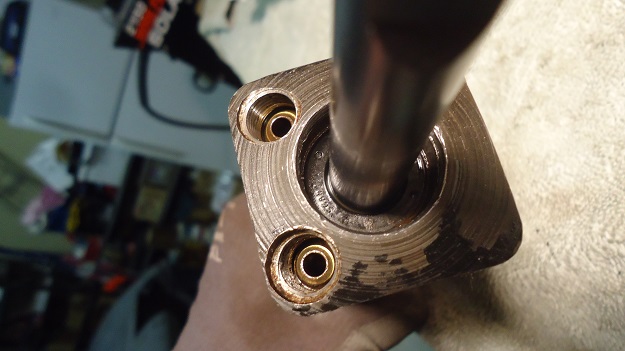
So as not to nick or mar the shaft, I wrapped the bottom of the rod in duct tape before proceeding to the next steps. I used a sharp pick to pull the seal wiper upwards (yours may have a leather washer), then pull it off the shaft.
There's not enough clearance between the cylinder rod and the cylinder body to get a tool in to pry that bottom washer out. There are several ways to remove the seal. This is the method that worked for me.
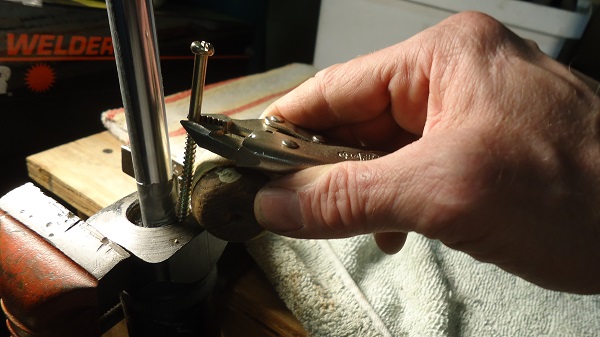
Use a small-diameter wood-screw to grab into the old seal. With a small pair of vice-grips holding the screw, lever it out using a 2" round piece of wood for a fulcrum (see pictures).
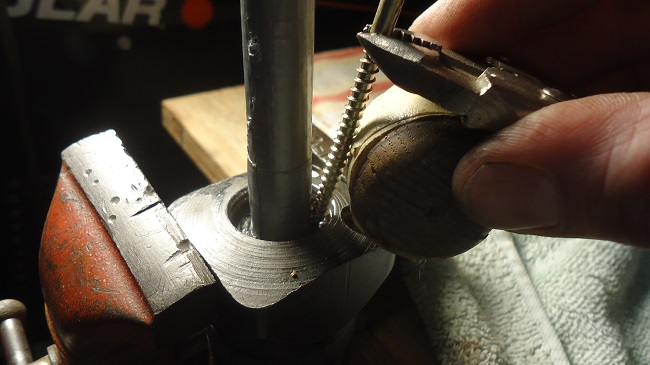
TIP: The rod is wrapped with tape to avoid accidental scratching.
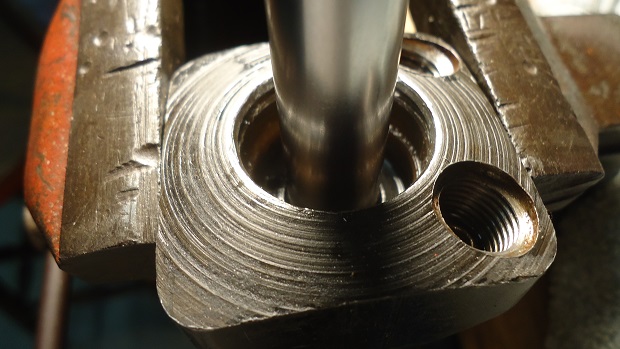
After disassembly, inspect the seal area. Look for scratches or grooves on the inside edges. Clean with solvent and lube the rod with power steering fluid.
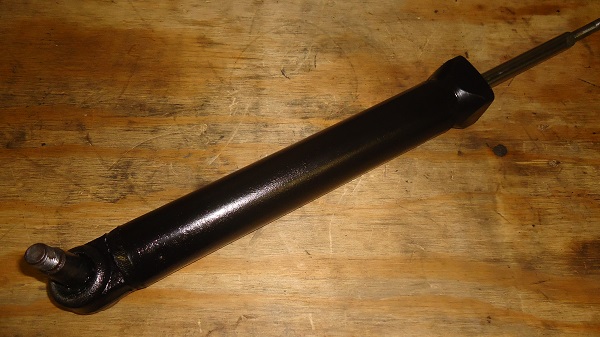
You may want to paint the cylinder before reassembly. I used brake parts cleaner to clean it, then masked off the rod and hose ports. Apply several lights coats of semi-gloss black, waiting 5-10 minutes before each coat. Give the paint a day to two to dry before reassembling.
*************************
Cylinder Reassembly
Seals and retainers get lubed with power steering fluid before installation.
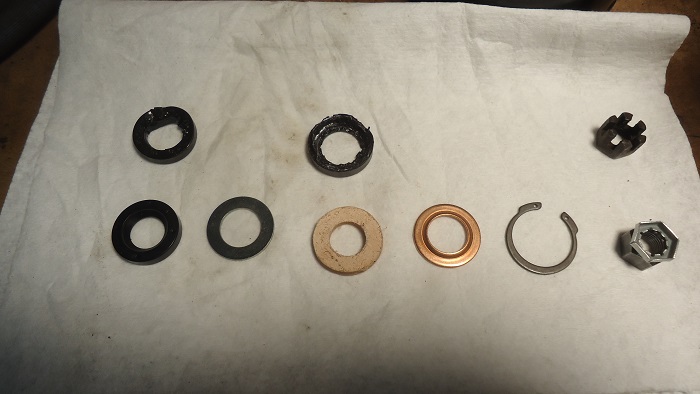
The rubber piston seal is installed first. The backing washer goes on top of it.
Next is the scraper, which seats against the backing washer. The copper washer goes on last, followed by the e-clip.
To get the e-clip to go back in its groove, the seals and washers must be pressed down. The best way to do this is to use either a socket or a piece of pipe that will fit over the rod. I used both, with a washer from the ball stud in between. Try not to hammer too hard at first, it may go down easier than you think.
Ball Stud End
Checking and/or replacing the ball-stud on the other end is the easier part of the rebuild. If the ball stud checks out in terms of wear, all that's necessary is a disassemble, clean, and reassemble.
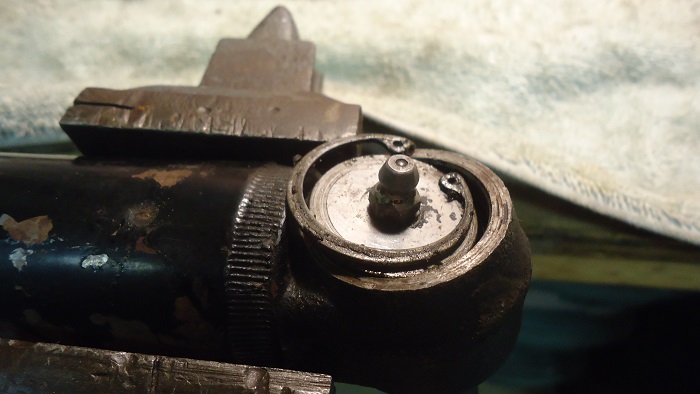
The ball stud end has five pieces. In order of how they are re-assembled, they are the ball stud itself, the skinny rubber o-ring, the dimpled washer (which faces up), the curly spring, the washer with the grease fitting, and the e-clip.
Once everything's back together, pump in some chassis grease just until it starts oozing out. Then install the ball stud boot over the ball stud.
Once back on the car, a castellated 1/2" x 20 slotted nut goes on the ball stud with the spacers and rubber washer. The rod end gets the smaller, 1/2" x 20 slotted nut. Both ends get cotter pins.
*************************
Power Steering Fluid
Automatic transmission fluid (ATF) is similar, but not identical to power steering fluid. While some manufacturers recommend ATF for their vehicles, GM specifically recommends power steering fluid for the Corvette (see owner's manual). ATF would work, but may not be the best fluid to use.
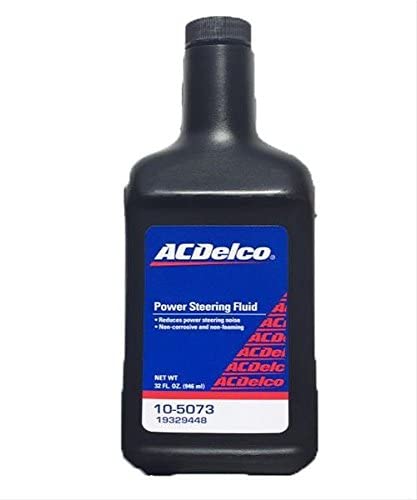
GM approved power steering fluid contains additives designed to help the pump perform optimally as well as to prevent seals from leaking.
Please dispose of steering fluid properly. It gets recycled with used engine oil.
*************************
Conclusion
This p/s cylinder rebuild took me about four hours over the course of several days.

Rebuilding a steering cylinder is much less expensive than a replacement unit, and also keeps your classic car as original as possible.
*************************
Articles of Interest: