1965 GTO Restoration
Article by Mark Trotta
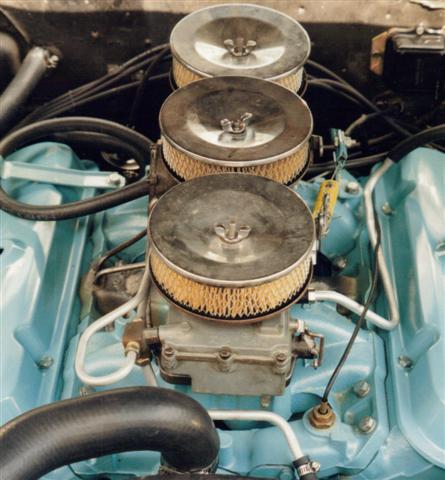
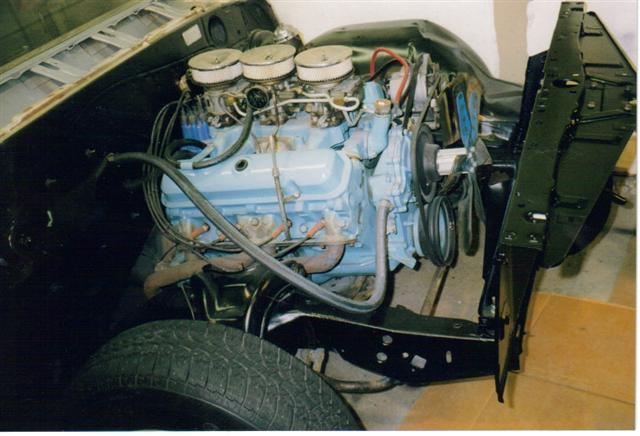
What helped set the Pontiac GTO apart from other sixties muscle cars was under the hood--a Tri-power induction system on top of a torquey 389ci V8. And it worked as good as it looked.
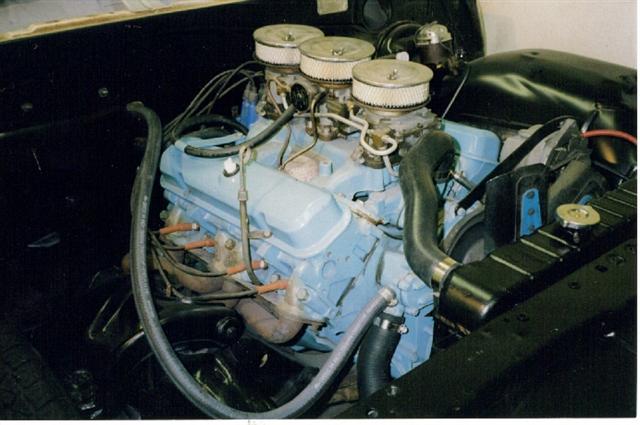
Three two-barrel Rochester carburetors mounted to a cast-iron intake manifold, each with it's own small chrome air filter.
The Purchase
Before I bought this old GTO project, it had sat outside for years, parked underneath a ragged tarp at Maxwell-Gunter Air Force base in Alabama. The exterior was scratched and dented, seat springs rusty and broken, and interior carpet wet and ripped. Tires were bald and wheels were mismatched. There was nothing left of the convertible top except the frame.
Prior to the purchase, someone with good intentions had tried rebuilding the motor, apparently abandoning the project half-way through. The cylinder heads and various other engine parts were laying in the trunk, and the Tripower manifold and carburetors were inside the car on the back floor.
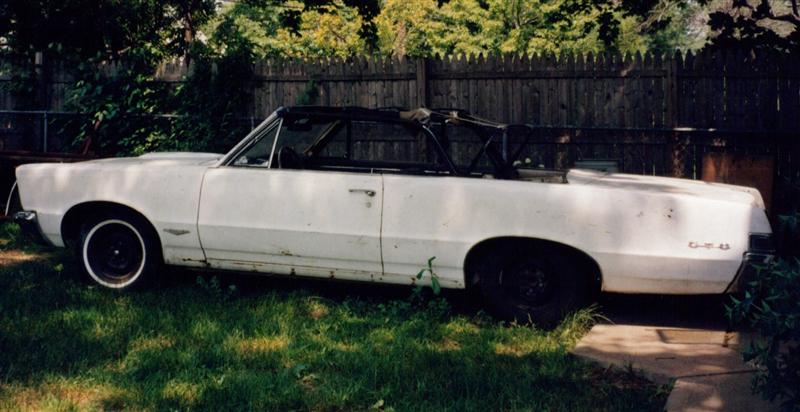
After purchasing the car and towing it home, it sat in my back yard for several months, while I finished some other projects. During this time, I began researching Pontiac engines and early GTO models.
VIN Numbers
First and second year GTO's were not models; they were merely an option on Pontiac Tempest models. So 'plain' Tempest and LeMans models can be dressed up to be more valuable GTO's.
Check the VIN with Pontiac Historical Services before buying an early GTO! You can contact them at PHS-online.com. A PHS report details original factory specifications, options, and production information.
After reading over the build-sheet, this particular car had left the factory with nearly every performance option offered for 1965; close-ratio 4-speed transmission, 3.90 posi-traction rear axle, transistorized ignition, metallic brake linings, and the 389ci Tri-power engine.
Engine Removal
The first part of the restoration was the engine. I rented an engine hoist from a local parts house, drove it home in the back of my '70 El Camino, called up a couple friends, and got started.
TIP: Mark where the bolt-holes are on the hood hinges before removing the hood. This comes in handy when re-installing.
Once the motor was pulled and hanging on the hoist, it was promptly bolted up to the waiting engine stand.
The engine disassembly process included cleaning and tagging every part, then putting them off to the side in marked boxes.
Read: 389 Pontiac Engine Build
Bodywork
The sheet-metal repair needed on this car was minor. The doors, quarter panels, and trunk lid were all straight, and actually had (very faded) original white lacquer paint still left on them. The front end was another story.
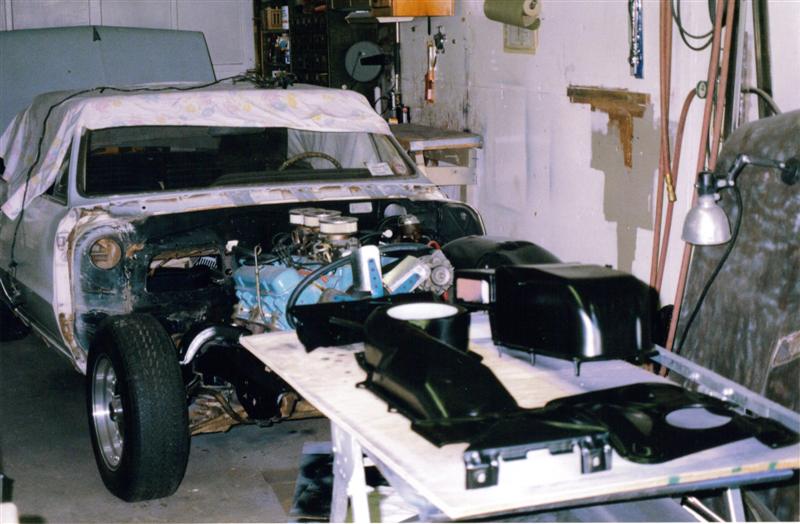
GTO Front Sheet Metal
Non-stock hood pins had been previously installed, leaving two unwanted holes in the hood and two on top of the radiator support. Small metal patches were fabricated for the holes in the hood and MIG-welded in.
Fender-well headers had been installed years before, leaving nasty, jagged holes in the inner fender-wells. I would have liked to reuse those headers, but they were too badly rusted, and also dented on the bottom.
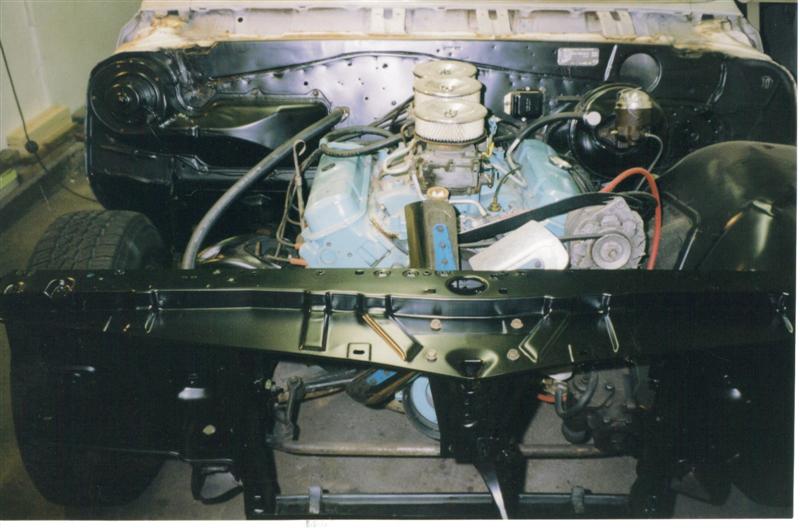
All of the front sheet metal had to be removed to replace the fender-wells. This included the hood, grille, and both fenders. This was a good time as any to go over the entire engine compartment.
I found a good used radiator support, sandblasted it down to bare metal, then sprayed epoxy-primer before painting with 60% gloss black.
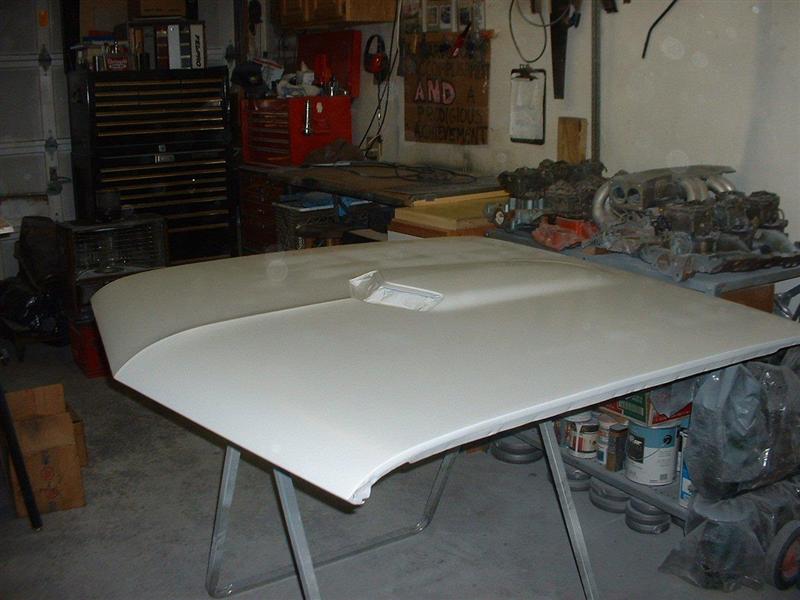
Inner Fender Skirts
After doing some research, I found that early Tempests, Lemans, and GTOs shared much of the same sheet metal. 1964, 1965, and 1966 fender wells are the same. 1967 fender-wells had a dimple in the back to accommodate a larger power-booster, but can be used for earlier GTOs.
1965 GTO Grille
Lemans front grilles were different than Tempest front grilles, and buyers who selected the GTO option got the Lemans grille with it's center bars painted matte black.
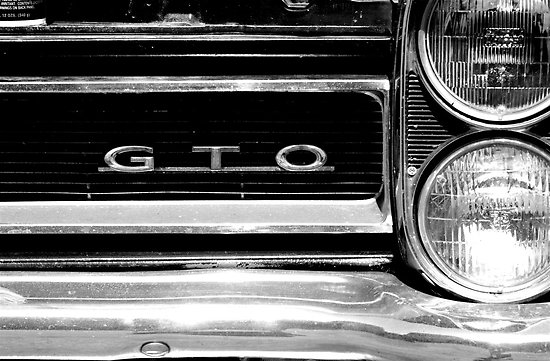
A white-lettered GTO nameplate was mounted in the left-side grille. Lower grille panel and fender extensions were painted to match the exterior body color.
Shop Manual
I found an original factory shop manual at Carlisle, but the convertible car schematic was not listed, so I had to use the coupe diagram and work from that. Most of the electrical problems encountered were due to corrosion at the fuse-box.
Exhaust
Although tempted to buy reproduction free-flow cast-iron manifolds, I decided to get the best performance headers I could find, which at the time were Hooker Super-Comps. There's not much that sounds better than a high-compression V-8 with headers.
At the time (1997), the left-side intermediate pipe was available, but the right-side wasn't. Solution--I bought two left-side intermediate pipes, cut one of them in the middle, slipped on an exhaust coupler, rotated the back end 180 degrees and welded it up. For mufflers I installed a pair of free-flow Walker Dynamax units.
The original tailpipe diameter was 2-1/2", but these were not available when I was restoring this car. Tail-pipes in 2-1/4" diameter were available, and I installed those.
*********************
Related Articles: