Body Filler Basics
Article by Mark Trotta
Automotive body fillers are resin-based, and require a hardener to activate. When mixed together properly, they provide a permanent repair to imperfections in sheet metal.
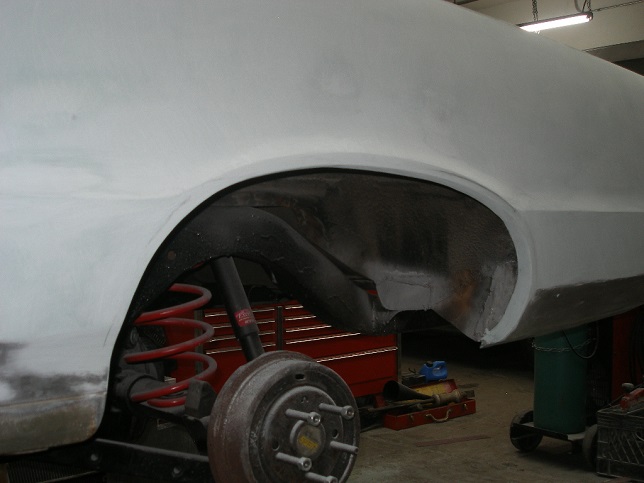
Body filler can be molded into any desired shape, then primed, spot-puttied if needed, and painted.
Different Types of Body Fillers
Many people call all body fillers 'Bondo" but it is actually a brand name.
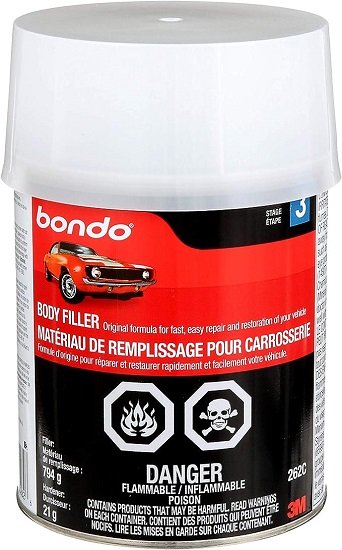
Bondo is still a top-selling brand. I've been using it for 30+ years, and it still works (and smells) the same.
Aside from ordinary body filler, there is also short-strand, long-strand, reinforced fiberglass and epoxy body fillers. Maybe some of these are stronger, and perhaps some are more water resistant, but if sheet metal is repaired properly they aren't necessary.
Properly applied, any of the major brands (Bondo, 3M, Evercoat, U-Pol, USC, etc) will have excellent adhesion and strength.
Editor's Note: Some marine and fiberglass applications may benefit from long or short strand filler.
Body Filler vs Lead
Automotive body repair was originally done by heating up lead to liquid form, pouring it onto the damaged spot, then shaping it while it was still molten. Working with lead can be difficult, and the fumes are VERY hazardous to your health when over-heated.
Starting in the sixties, body filler started replacing lead because it was much easier to apply, cured quickly, dried hard, and was easily sanded. Trouble was, because it was so easy to use, it was grossly misused. While recommended maximum thickness is 1/4", unscrupulous bodymen were substituting body filler for metal work.
When used as intended, body fillers are a better choice over lead.
*************************
Prep and Application
Before applying body filler, clean off any dust or grease from the repair area, then remove all paint. Sand the work area down to bare metal. Sand 1-2 inches beyond damaged area. Roughing up the metal surface with 100 grit sandpaper will help the filler adhere.
Mixing Body Filler and Hardener
Mix filler and hardener on a clean, non-porous surface. A piece of cardboard will work, but a plastic mixing board or scrap of plexiglass is better because it won't absorb some of the polyester resin from the filler.
Each brand of putty has a certain mixing ratio, so read the label for instructions. Before long, you will get used to the mixing ration and will be able to mix by eye.
Mix both parts thoroughly to a uniform color. When properly mixed, working time is 3 to 4 minutes.
TIP: I mix filler and hardener on a piece of 12" x 12" sheet metal, which I use over and over again. After each use, after it dries, I sand it down with a DA sander.
*************************
Applying Body Filler
Spread a thin layer of the mixed filler over the repair area. Use firm pressure to ensure maximum adhesion. Apply filler in thin layers.
Before shaping/sanding, allow filler to fully harden. 45 minutes (sometimes less) is usually enough time.
You can add additional coats if needed, but allow previous coats to completely harden first. Sand material in between layers.
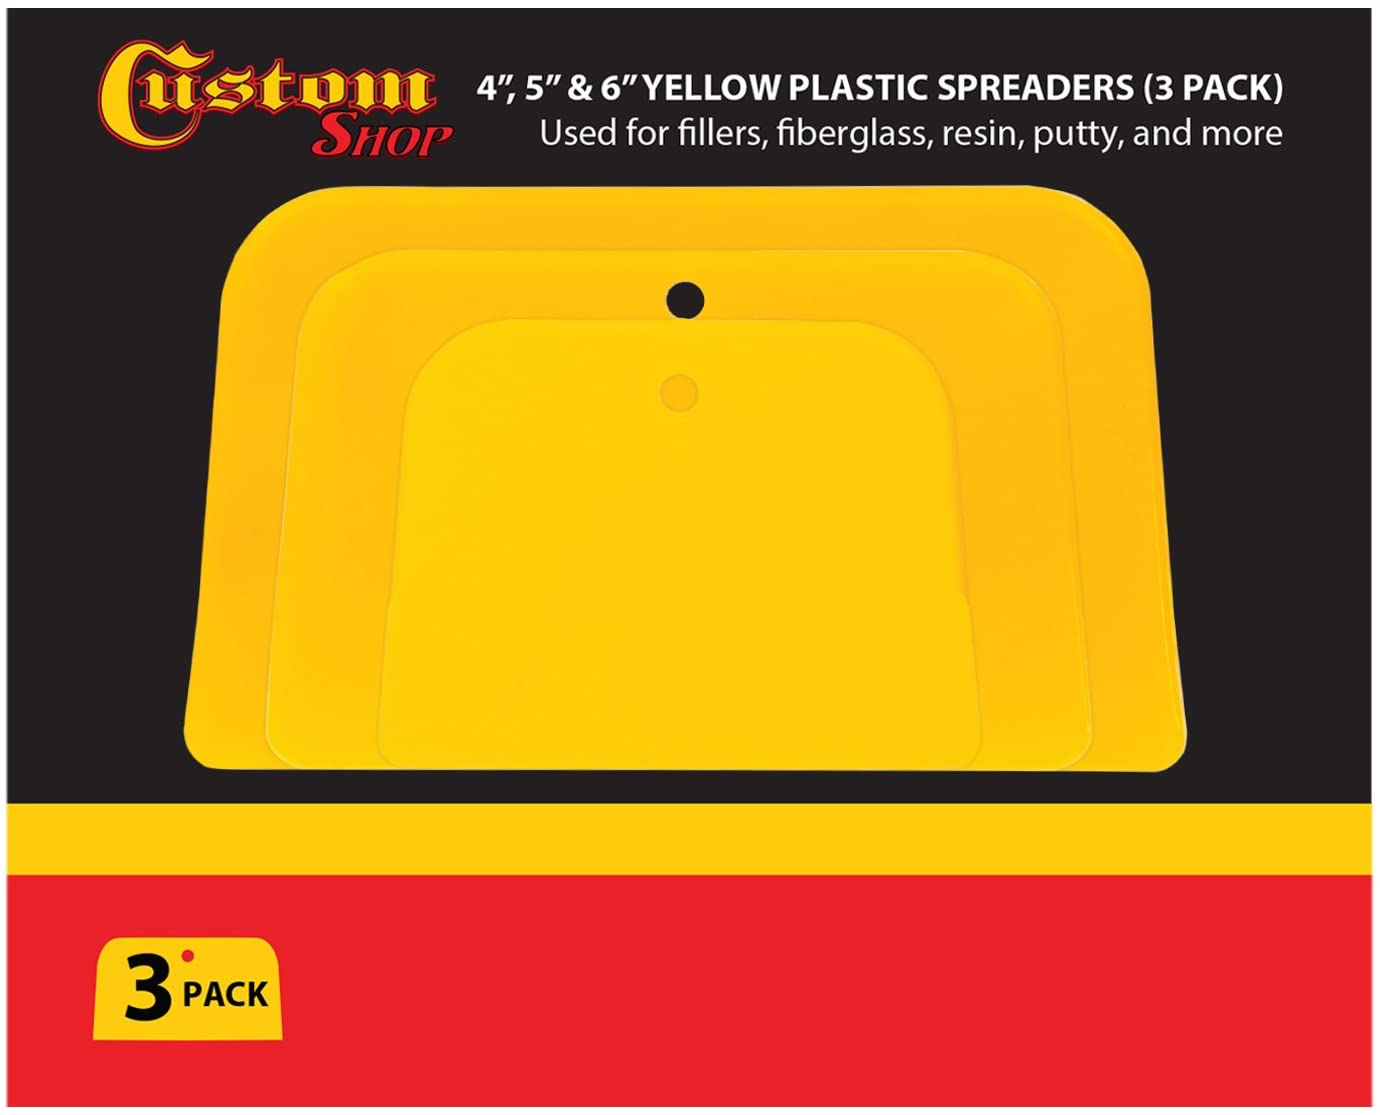
I prefer flexible plastic paddles for mixing and applying body filler. The plastic material is bendable and can be cut down or trimmed with scissors.
*************************
Shaping/Sanding
There are many ways and means to sand and shape auto body filler, including body files, sanding blocks, and a DA sander.
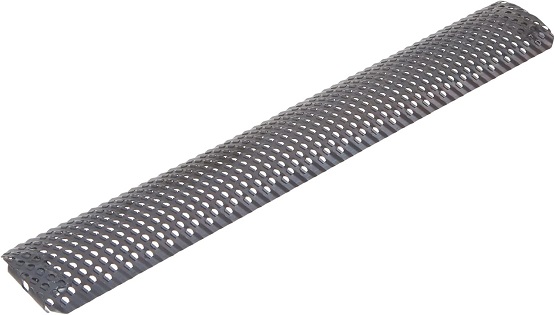
Plastic body files, commonly called cheese graters, are a good way to knock down excess filler quickly.
Remove excess into the desired shape with 80-100 grit sandpaper, then smooth out with 240-400 grit sandpaper.
Best Sanding Blocks For Automotive
You really want to have an assortment of shapes and sizes to properly sand different types and parts of body panels.
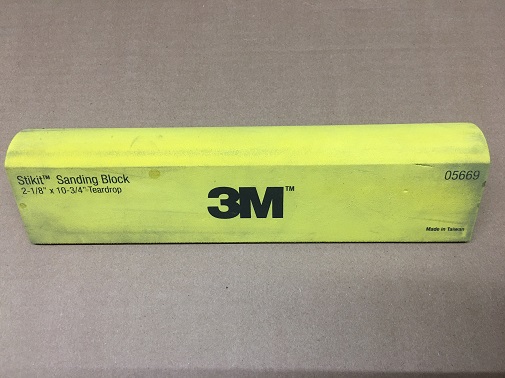
Geezer Alert: When I started doing body work many years ago, we scrounged around for blocks of wood and pieces of hard foam to wrap pieces of sandpaper around. Today, it's a lot easier--just buy a set of sanding blocks.
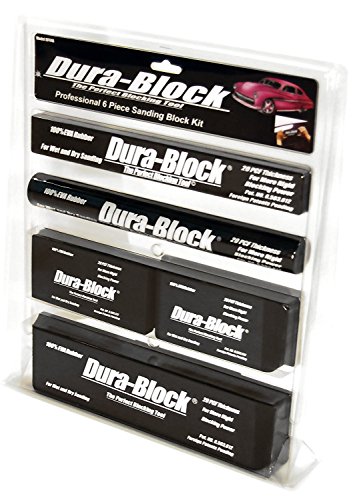
The Dura-Block sanding block kit includes several sizes and shapes for various sanding jobs. The longer blocks are flexible, allowing you to work with different contours.
TIP: Dura-blocks work well with 2-3/4" 3M Stikit rolls.
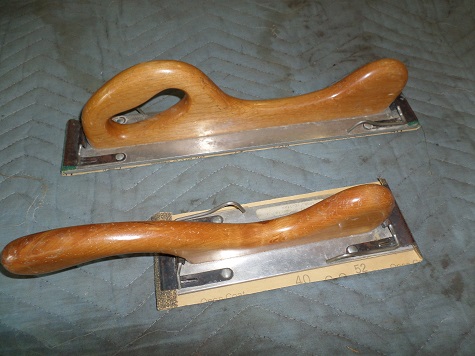
Wooden sanding blocks are good for long, flat panels.
*************************
Dual-Action Palm Sander
The D/A, or dual-action sander, is an air-powered tool that works at low RPMs. They have a dual orbital motion that helps prevent scratching. Its primary use is to "feather", or fan out, the area around a body filler. 150 or 220-grit sandpaper is commonly used.
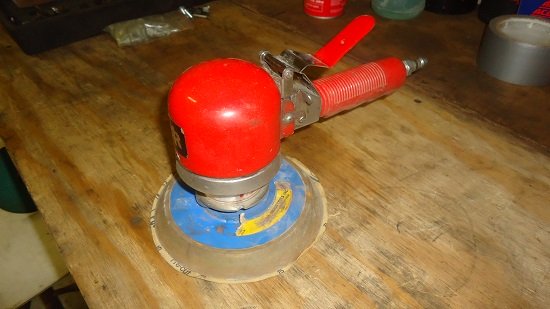
When using a D/A sander, keep it flat to the surface and don't press down too hard. Let the sander do the work. Don't forget to wear a respirator.
When done with final shaping, finish sand with 180 grit or finer. Feather-edge the repair.
Apply 2-3 coats of primer over the repair area.
*************************
Difference Between Body Filler and Putty
Glazing putties are much finer than body filler, and work best on small scratches where metal is not exposed. It's not meant for repairing holes. Some people regard putty as a thick paint with a filler material.
Glazing Putties
Despite their easy use, glazing putties can come back to haunt you. They should be used for glazing ONLY. Do not try to fill in imperfections with them.
One-Part Putties
Avoid using one-part glazing putties because they shrink; the more you use, the more it shrinks. A good quality sealer should be used over one-part putties, as they absorb the moisture and reducers out of paints. If not, the results can be disastrous after painting. Be safe and avoid one-part putties.
Polyester Putties
Polyester putties are two-part putties. Just like body fillers, they can withstand many varieties of paints, but not solvents. If you need to fill sand-scratches or tiny pin-holes, polyester putty is recommended, as it will not shrink like a one-part glazing putty.
Notes and Misc
Whichever filler you choose, gloves, mask, and proper ventilation are recommended when sanding.
Some primers are not sealers (putties can eat through primers too), so be sure to use a good sealer or epoxy sealer/primer.
Do not use body fillers to fill rust!
*************************

Shop: Bondo Body Filler
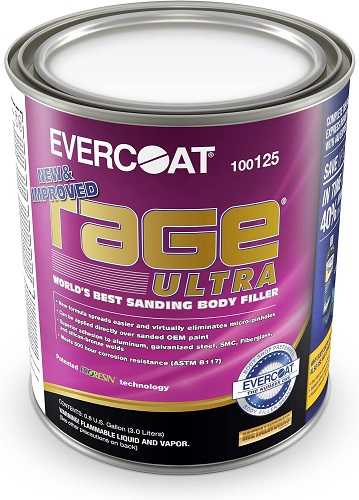
Evercoat Rage Ultra is one of the smoother sanding fillers.
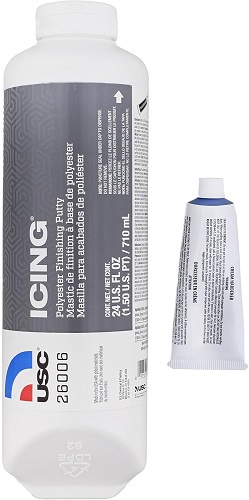
Shop: Poly Putty
*************************
Sandpaper Grits For Automotive Refinishing
Automotive sandpapers are the most accurate grade of sandpaper. They can be purchased online, as well as most auto parts stores. The larger the number is, the finer the surface is.
40 Grit, for pre-bodywork prep
80 or 100 Grit - for rough sanding before bodywork and sanding body filler
180 or 220 Grit - for final sanding and feather-edging body filler
320 Grit - optional for final sanding before applying primer
400 Grit - for rough sanding primer and fine-sanding spot putty
600 Grit - final sanding primer before applying base coats
*************************
Related Articles: