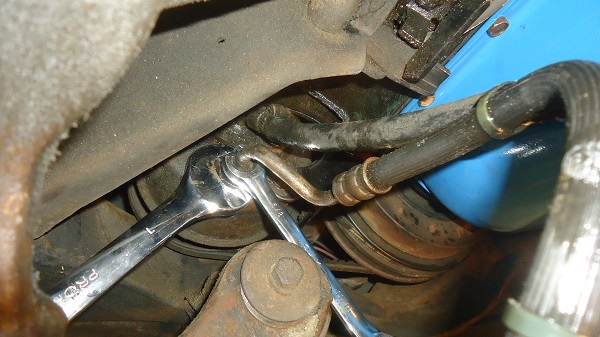
Corvette Rotor Removal (C2 and C3)
Article by Mark Trotta
If your 1965-1982 Corvette still has the original brake rotors, removing them will require drilling out the factory rivets from the hub assembly.
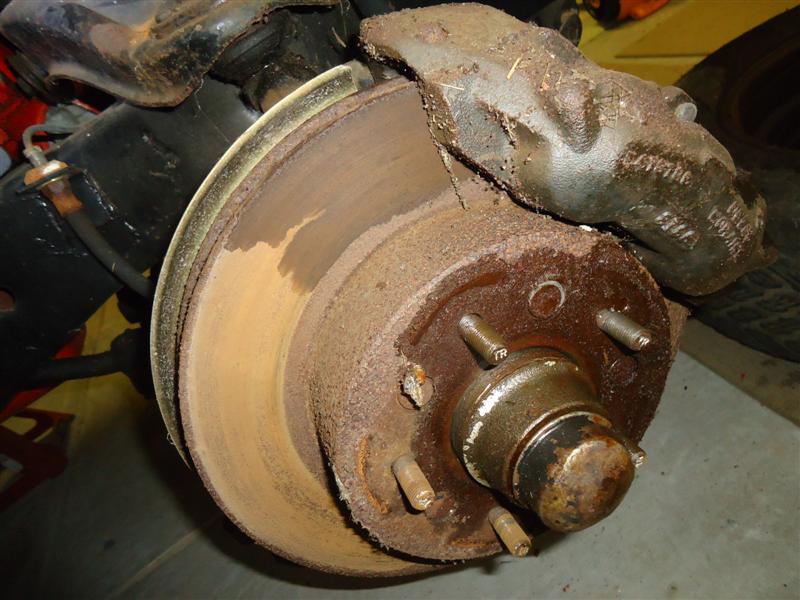
The brake rotors on this 1966 Corvette are original and need replacing.
The reason why those rivets are there in the first place was for the factory to have an easy means to install the brake rotors. They were then trued as a hub and rotor unit so that there was no run-out (side to side tolerance).
Corvette Rotor Removal
Start by center-punching the center of the rivet. This will give you a guide hole.
Use a good high speed steel bit (it will say HS or HSS on it). An electric drill is best. If using an air drill, keep it at a slower speed.
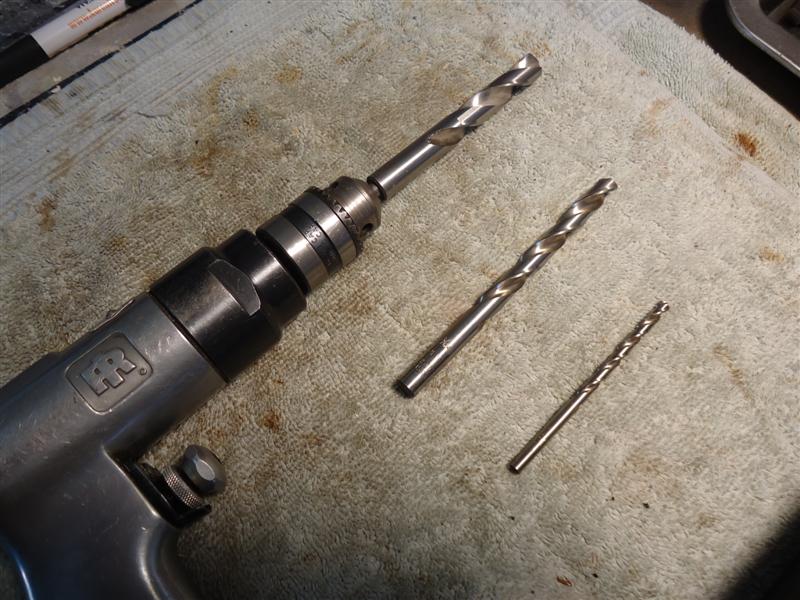
TIP: Spraying a little WD-40 or other penetrant on the bit helps it run cooler.
Drill Bit Size
For the first pass, I used a 1/8" drill bit. Consecutive passes were then made with a 3/8" bit, and then a 7/16" bit.
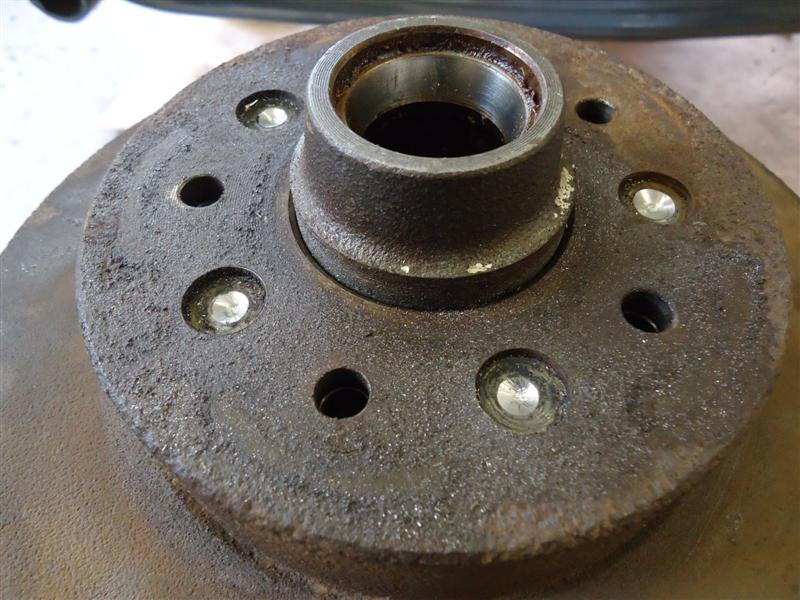
You need to drill deep enough to get the heads of the rivets off.
After the rivet heads are drilled off, the hub will fall away from the rotor. A drift punch and heavy hammer can then be used to drive the rivet tails out.
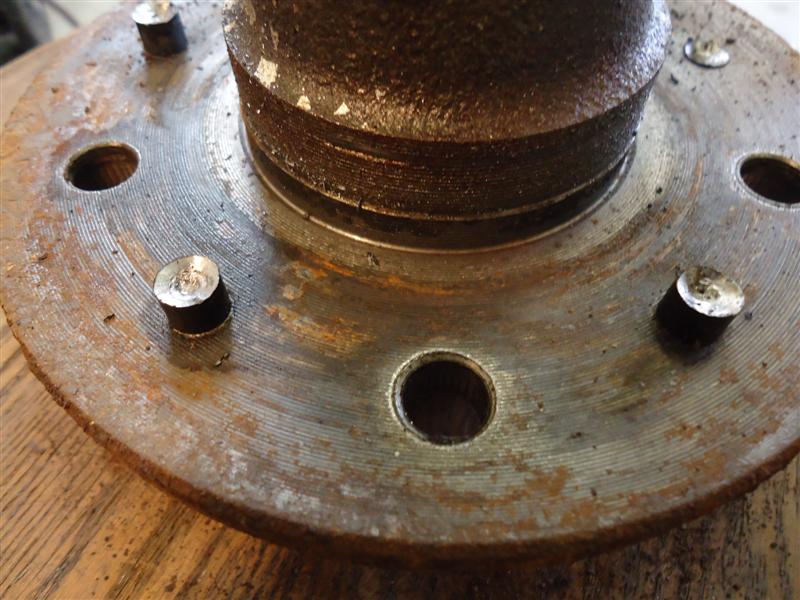
If the rivet tails don't come out, you'll need to drill down deeper into the rivet tail after the head has been removed.
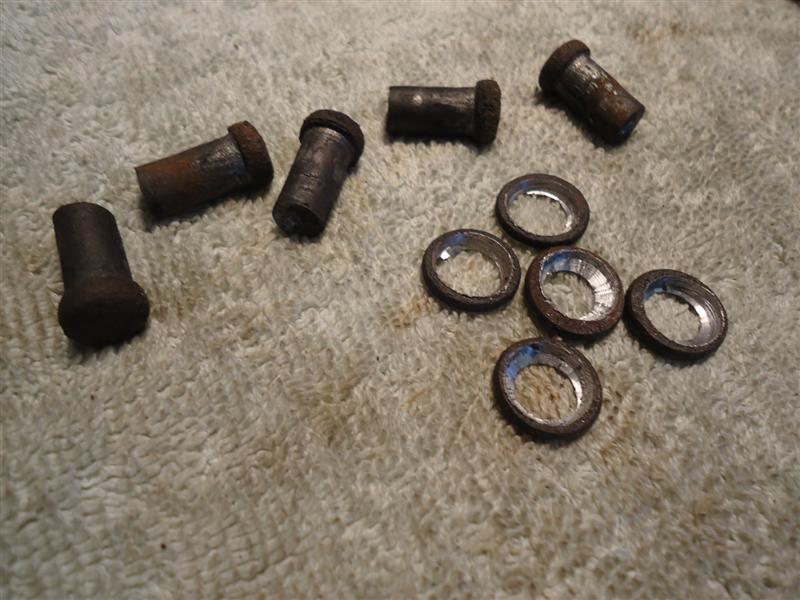
While drilling, be careful not to damage the hub.
On this car, rotor removal procedure took about an hours for each front rotor.
Replace Rivets?
Unless you are building a 100-point Concours show car, is not necessary to replace the rivets once the rotor is off. The Corvette service manual recommends simply using the lug nuts of the wheel to hold the new rotor in place. When the wheel nuts get torqued down, it centers the new rotor on the old hub.
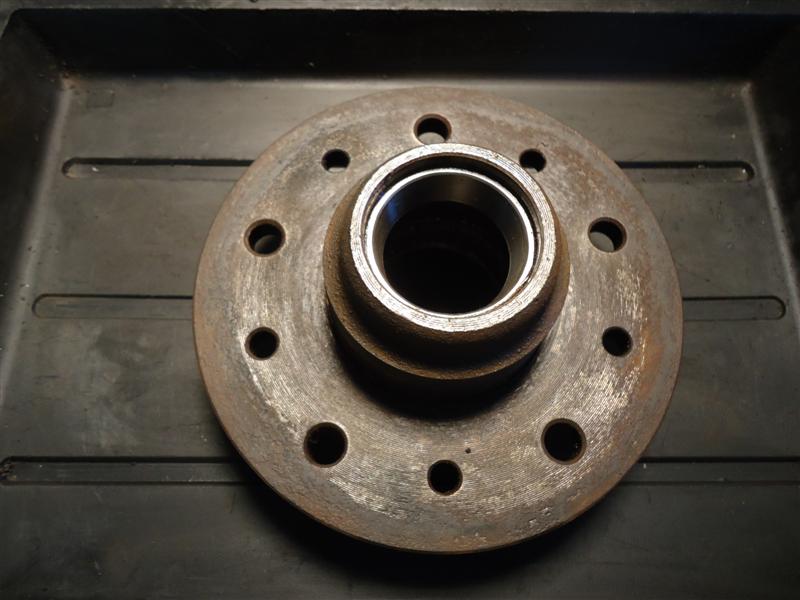
During future services that require the wheels to be removed, mark how the wheel comes off and return it to the same position.
If you don't want to leave the holes empty, but don't want to install new rivets, you can tap the rivet holes in the hub (3/8"-24 tap) and use 3/4" length 3/8"-24 flat head socket head bolts. Countersinking the rivet holes will have the bolts sit a little lower than flush on the rotor. Now the rotor stays in place on the hub, eliminating any run-out issues. This also allows you to remove the rotor if you need to, but remember to mark how the rotor comes off so you return it back in the same position.
***********************
Related Articles:
Rebuild Corvette Calipers (Disassembly)
Rebuild Corvette Calipers (Reassembly)
Lip Seal vs O-Ring Calipers
How To Rebuild A Steering Cylinder
C3 Corvette Exhaust
Restore An Old Corvette
Gen-One Small-Block Chevy
