How To Lap Valves
Article by Mark Trotta
The valve lapping techniques described in this article work best on mid-seventies and older engines. On modern cylinder heads, it's often not necessary.
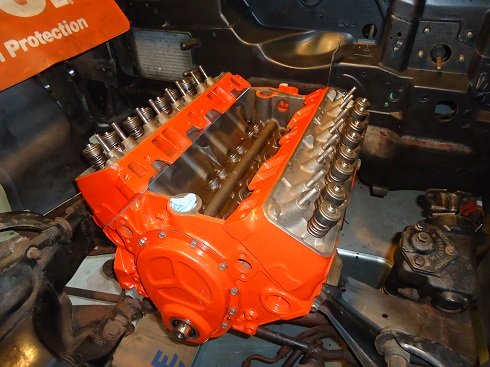
Back in the day, valve lapping was one of the things we learned in high school auto shop. Sure, it's old school, but if you want your classic car's engine to perform it's best, spend a few extra minutes, check the valves and seats, and lap the valves.
If the seat and face are in good condition, the process should take a minute or less for each valve. It actually takes longer to clean, prepare, and round up the supplies than to actually perform the lapping process!
Is Valve Lapping Really Necessary?
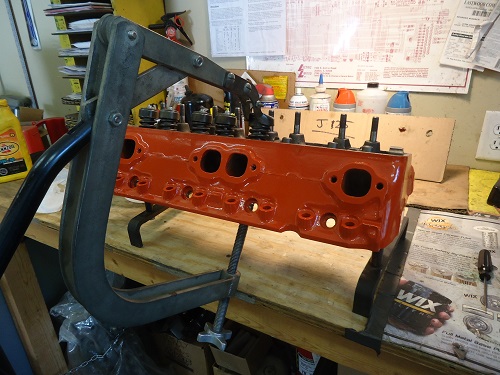
If your cylinder heads were rebuilt at a machine shop, a specialized machine put a precise bevel on the valve and seat surfaces. But a good seal is not guaranteed. Experienced engine builders will always check every detail before final assembly.
Clean Off Carbon
If you're checking a cylinder head that's just come off an old dirty engine, wire-brush or wire-wheel the carbon and gunk off the sealing area and on the stem. Make sure there is no dirt in the guide or on the stem.
Once the valves are removed from the head, check for corrosion and pitting on the mating surfaces.
Inspect Valve Seats
The seat pictured below is badly corroded and beyond lapping. It needs replacing.
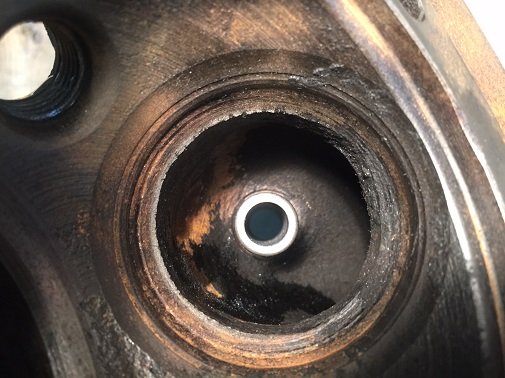
When valves or seats are badly pitted, vigorous lapping to get the pits out will leave seats that are too wide, and won't flow well. It will also 'sink' valves into the seat. This means the top of the valve will stick out taller than the others, which alters valve train geometry.
If the head in question has had several valve jobs in the past, one or more seats may already be sunk too far into the head.
For any of these scenarios, seat replacement is the only option.
DIY Leak-Down Test
When valves are closed, they should be air-tight and liquid-tight.
Here's a simple test: With the cylinder head fully assembled and upside down on a workbench, prop it so the combustion chamber is flat. I use 2x4 wood blocks for this. Take a cup of water and pour it into the combustion chamber. Does it seep right through into the port? If it does, the valves are not seating properly.
***********************
Getting Started
The lapping procedure requires valve grinding compound and a valve lapper tool, which is basically a wooden dowel with a suction cup on the end.
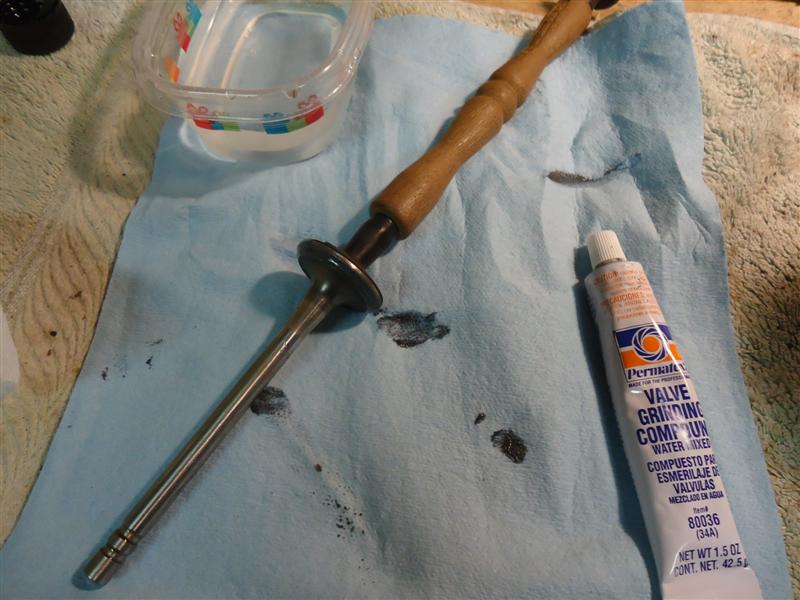
Oil the Valve Stem
After taking the valves out and cleaning them, give the stem a light coat of engine oil before putting it in the guide. I use 5/30W, but it really shouldn't matter. Spread a bit of grinding compound onto the edge of the valve.
Stick the Rubber Cup On the Valve Face
Once the valve is in the head, the next step is to wet the suction cup on the lapper and stick it on the face. Once the lapper is grabbing the valve, you begin the lapping process. Place the lapper in between both hands, and using light pressure, rotate the tool back and forth at a moderate pace. The motion is similar to starting a fire with two sticks.
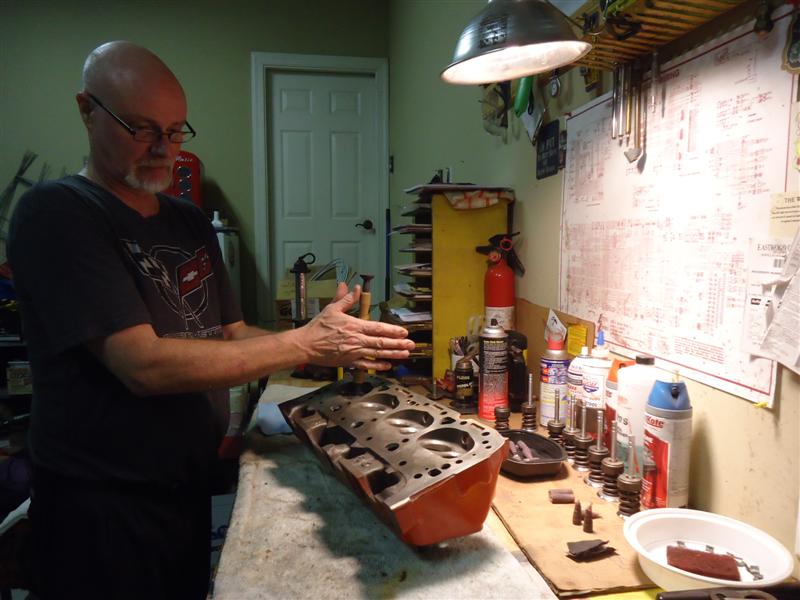
Lift the valve up periodically and rotate it 180 degrees to ensure the grinding compound is getting evenly spread. You'll want to watch the progress - you're looking for a consistent grey ring on the valve and seat, with no breaks or high spots.
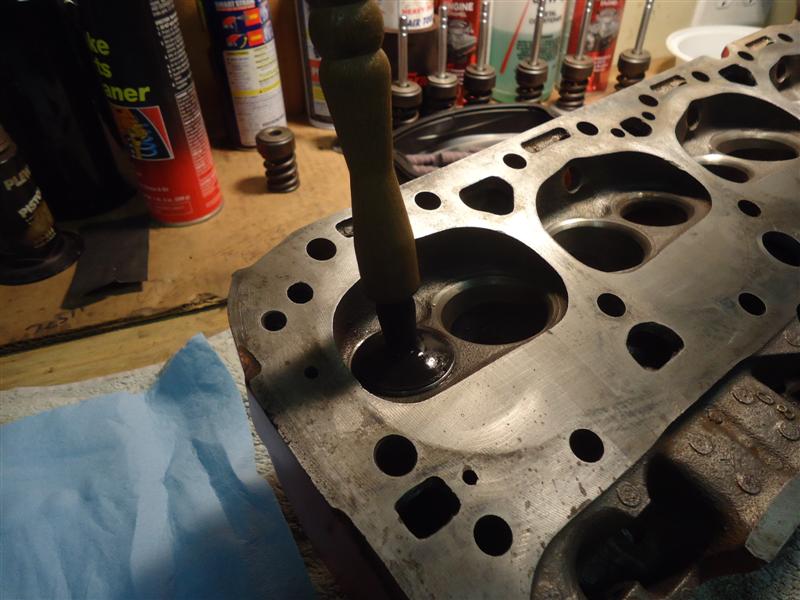
When you can feel (and hear) the compound losing its cutting ability, wipe off and check. Both faces should be a dull grey when you're done, with an even, uniform width across both faces.
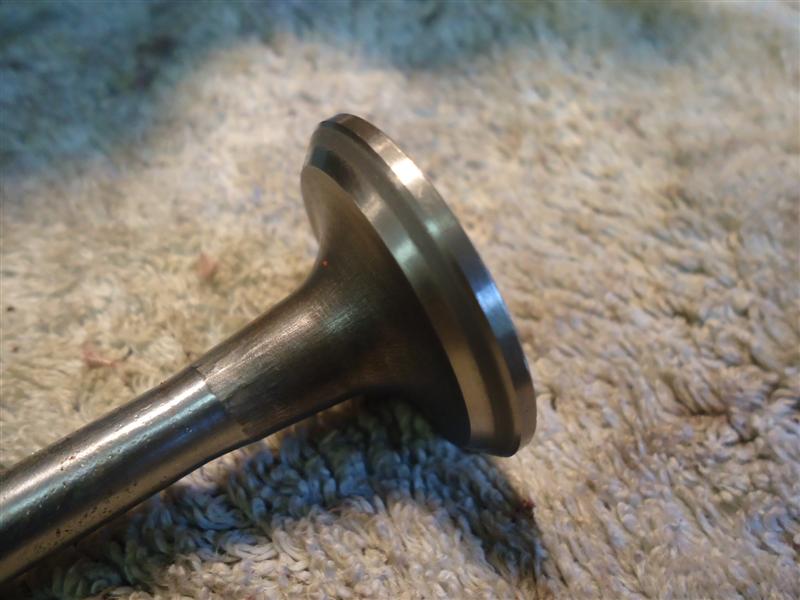
The ring doesn't have to be in the dead center of the valve, just a nice even ring around the valve. You should see the same consistent grey line on the valve and the seat.
***********************
What You'll Need
The three-ounce Permatex 80037 is a mixture of four grits; 120, 150, 180, and 220. The compound starts off as 120 grit and as you work it, ends up as 220 grit.
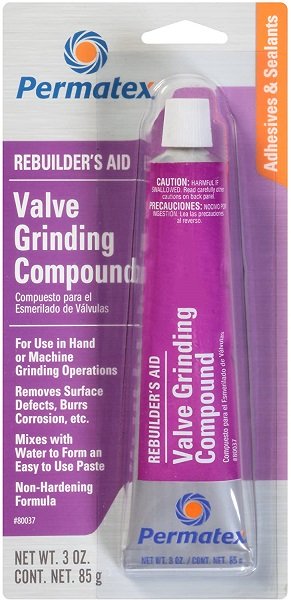
Shop: Valve Grinding Compound
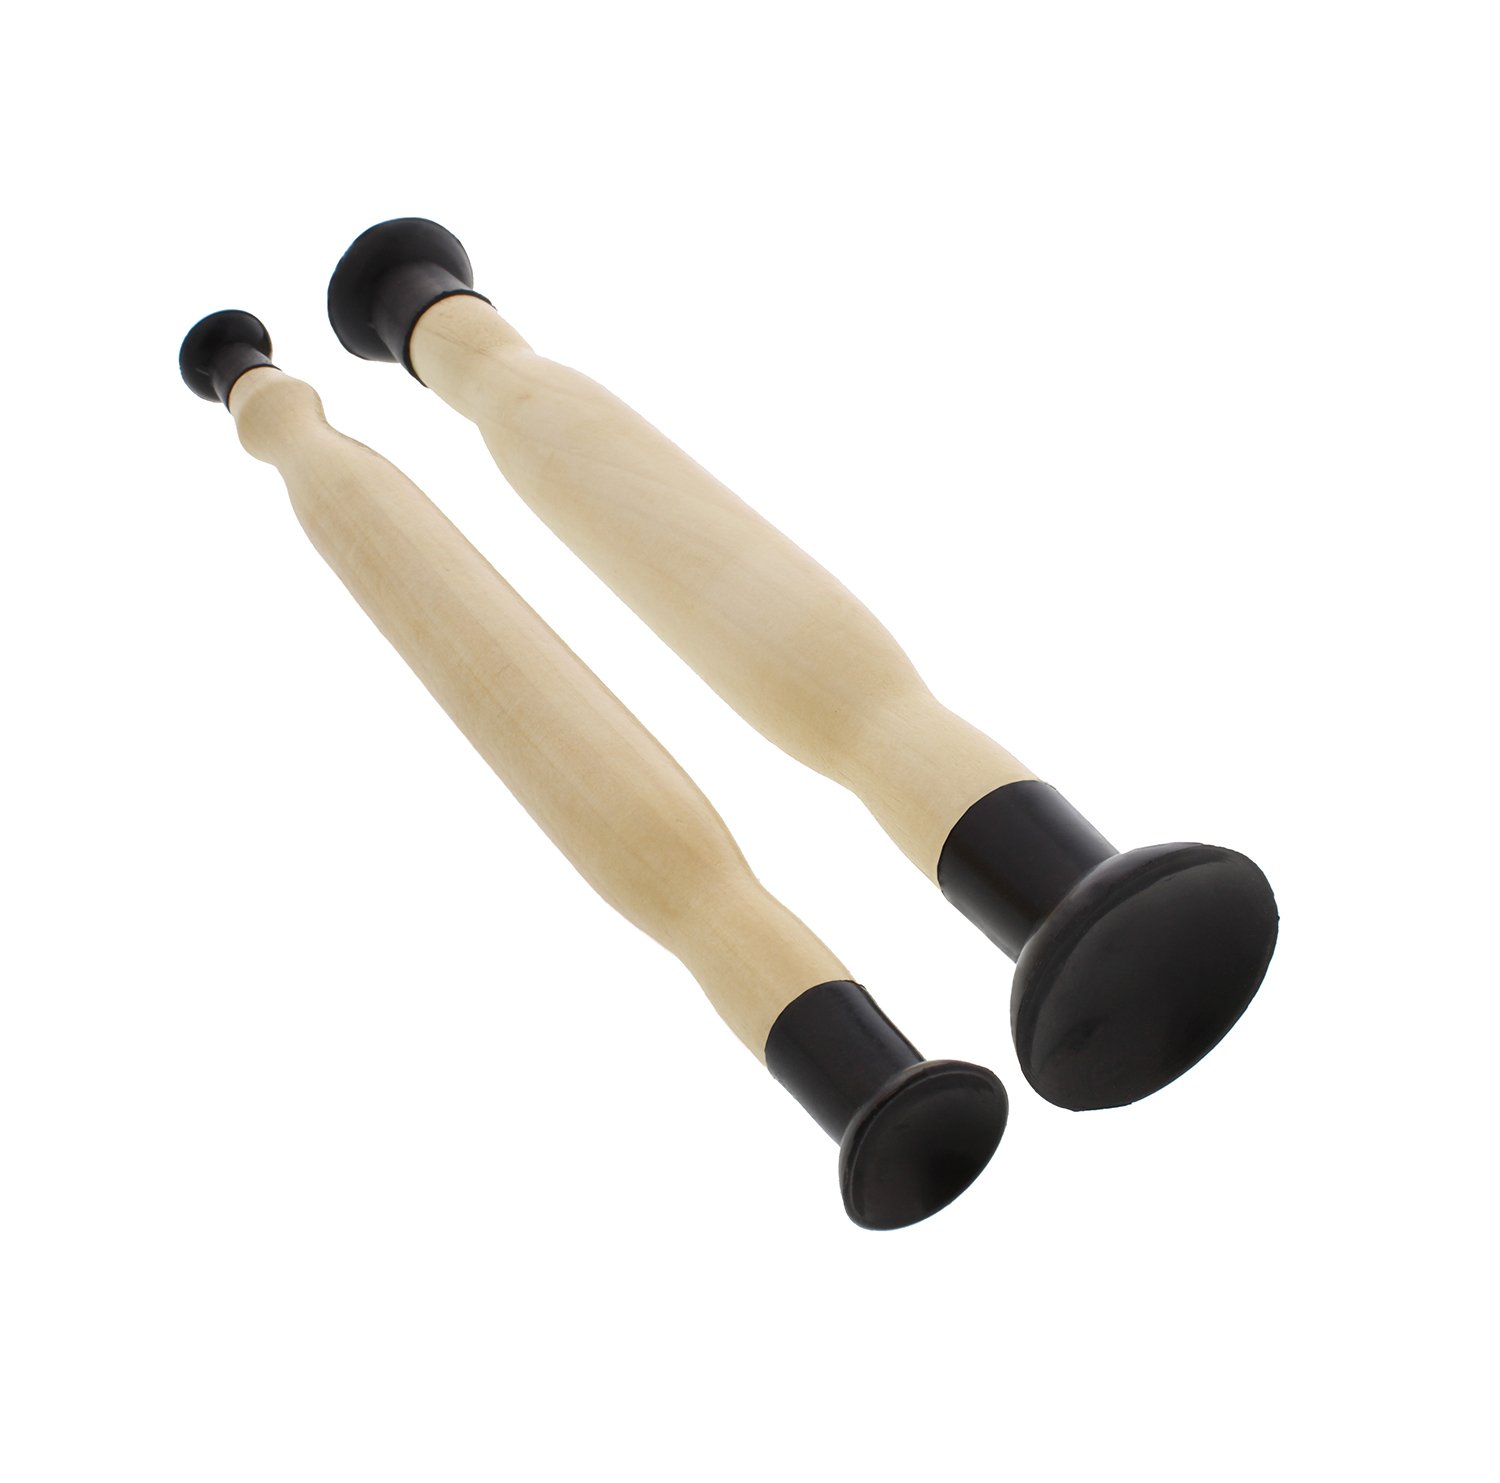
Shop: Valve Lapper Tool
Note: The suction lapping tool doesn't always stick on smaller valves. Those can be done slowly by hand.
***********************
Tips and Techniques
If it's easier to access, you can also lap valves from the other side of the head. While applying slight pressure to the bottom of valve with one hand, turn the top of the valve with the other hand. It may help to use a short piece of fuel hose to slip on and off the top of the stem.
You can rotate either direction, clockwise or counter-clockwise. It's actually beneficial to switch from one direction to the other; the 'reciprocating' motion helps make a more uniform finish.
Remember to stop and check progress. Listen for the sound to change from a grinding to a polishing.
Although some seats may need two or three sessions of lapping, it's not necessary or good to over-lap. It is unlikely, but possible, to remove too much material.
If you are unable to achieve a consistent grey ring after five or six attempts, the seats are probably worn out and require resurfacing. That is a job for a machine shop or an experienced DIYer.
***********************
CAUTION: grinding compound is highly abrasive and could harm your engine once it gets into the oil system.
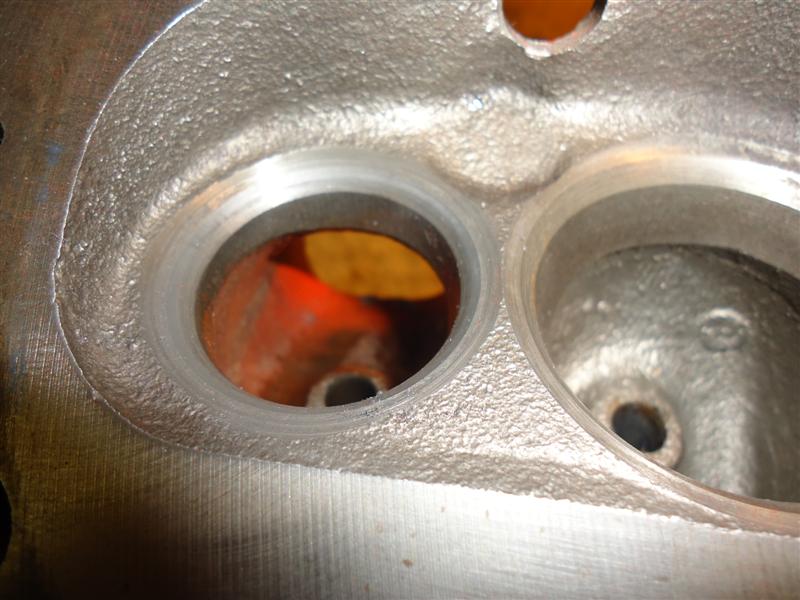
When done, make sure all of the grinding compound is removed from the cylinder head ports. Rags or towels and brake parts cleaner is good for this.
Testing For Air-Tight Seal
You can test the seal by leaving the port full of water overnight with the valve springs installed. A full port of water the next day means the seal is good.
***********************
Can I Use A Drill To Lap Valves?
Here's three reasons why using a drill to lap valves is not a good idea. One - You risk removing too much metal from the seat.
Two - It's actually harder to lift up the valve and check progress.
Three - You can't hear the sound of the grit working over the noise of the drill.
***********************
DIY vs Machine Shop
Machine shops will test valves with a leak-down gauge - it does the same thing only much quicker.
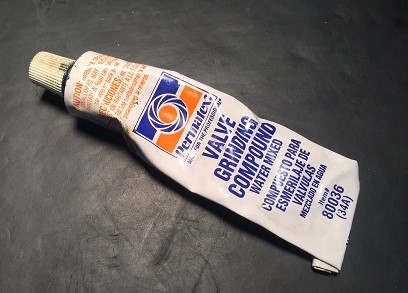
Lapping valves at home will take longer, but your only out-of-pocket expense is a valve lapper tool and a tube of valve grinding compound.
***********************
Conclusion
The purpose of grinding valves is to have the valve and valve seat make an air-tight fit.
The purpose of lapping valves is to see if that was done correctly.

When done, you'll have an even band of contact area that goes completely around the valve and seat.
***********************
Related Articles:
How To Measure Valve Guide Wear
Old Car Engine Rebuild and Repair
