Rebuilding 327 Heads
Article by Mark Trotta
Gen-One small-block Chevy's are known for faster-than-usual valve-guide wear, so it's essential to measure the valves and guides when rebuilding 327 heads. If measurements prove to be out of tolerance, replacing the guides is recommended.
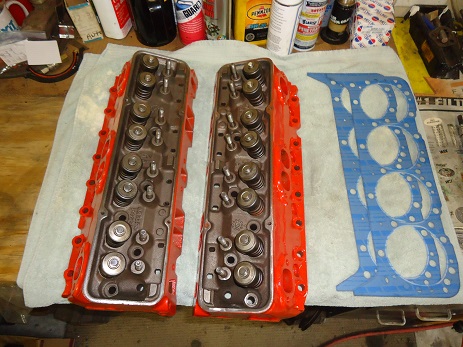
The machine work on these 327 heads was fresh. The valves and seats were cut and the valve guides were knurled. Regardless, I still removed the valves, checked valve to guide clearance, and lapped the valves.
Related Article: How To Measure Valve Guide Wear
Tools and Supplies
Required tools for cylinder head work include a valve spring compressor, thread chasers, gasket scraper, and digital caliper.
Supplies include new valve stem seals, a little engine oil, and a couple small containers to keep parts in.
Once the heads were off the engine, a valve spring compressor tool is required to remove the valves, locks, retainers, and springs. They are hand-operated with an extendable arm.
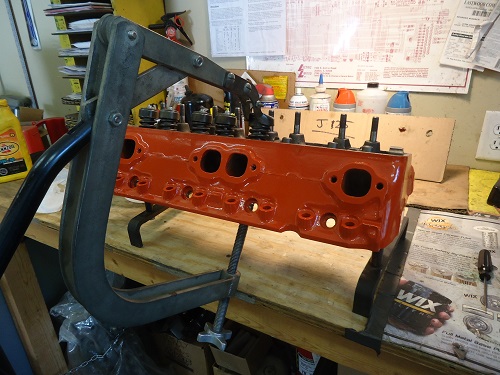
Most valve spring compressors will work on a variety of cylinder head designs, so if other engine rebuilds are in your plans, it's a good investment.
Remove Valves and Springs
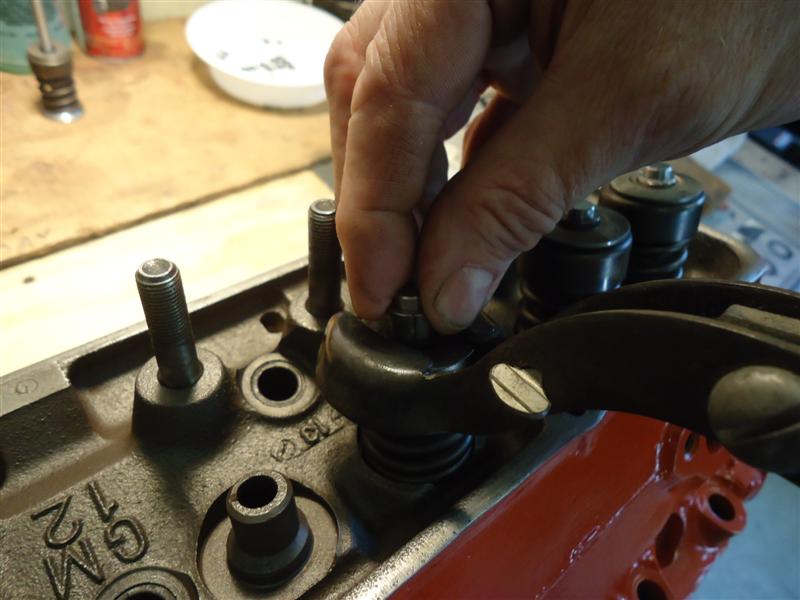
After compressing the springs with the valve spring compressor tool, carefully remove the two small keepers with either a small flat-blade or needle-nose pliers.
Release the valve spring compressor slowly, then remove the metal shield and valve spring. If the head has been rebuilt before, there may be a shim underneath the spring. Make a note of where and how many shims there are.
Remove the O-ring from the groove and slide the valve out. It's a good idea to keep each valve, spring, and shield together.
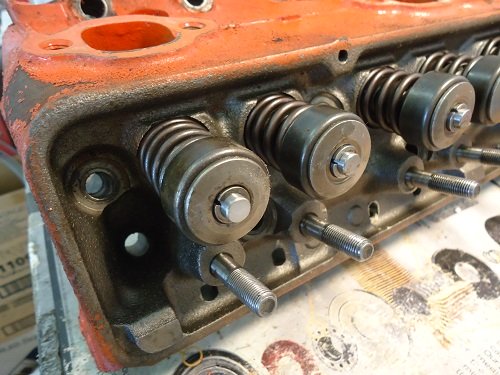
From the factory, stock cast-iron Chevy heads were fitted with cast-iron valve-guides, which were made by boring a hole through a boss cast into the head. Refinishing the guide is done by either knurling, or pressing in a new guide of iron or bronze alloy.
If measurements are found to be within tolerance after disassembly, all that's required is a thorough cleaning and reassembly.
Another method for checking guide wear is to hang the valve out the guide just an inch or so (with the head laying sideways), then rocking the valve side to side.
Knurling Valve Guides
The knurling process is done by passing a tool down the guide, which rolls a spiral of material into the spaces of the tool. When the tool is run through an old guide, it displaces the metal and makes the diameter of the hole smaller.
The rolling method of knurling does not remove metal, but rather raises it up in rings. The guide then gets reamed to the proper size.
For those on a budget it is certainly an option, but there is a limit as to how loose a guide can be to be safely knurled. For engines with cast-in guides, knurling may be the most practical way to do a lower-cost valve job.
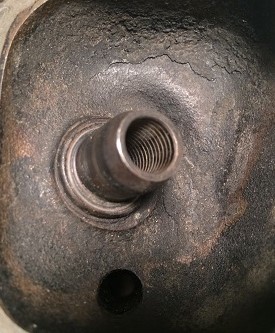
Some will argue that the rings left by knurling process hold extra oil, which increases lubrication over non-knurled guides. But a knurled surface will always wear quicker than a new guide because of the missing surface area.
It's hard to say how many miles knurled guides will last before the engine starts burning a little oil and blowing out blue smoke. Perhaps 10k, maybe 20k miles, but for an old car that doesn't get driven regularly, knurling valve guides is always an option.
Oil Control
From the mid-fifties thru the mid-eighties, small-block Chevy's used an O-ring combined with the metal shield over the spring. When the engine is fresh, this works very well, but as it ages the stem to guide clearance increases and allows oil consumption. GM used this design until emission concerns came along.
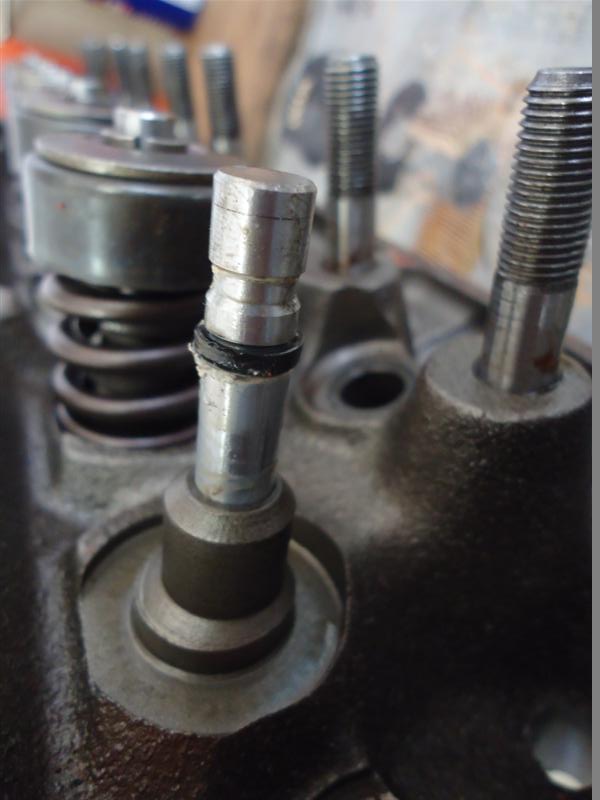
Some who don't understand this design will use the O-ring, but discard the metal shield as unnecessary weight. The shield was intended to direct oil onto the valve spring and away from the stem. Taking away the shield renders the o-ring useless.
Note: when reinstalling, do not put the O-ring on the valve before the metal shield. This will push the O-ring down the stem of the valve and do nothing to help oil control.
Valve Springs
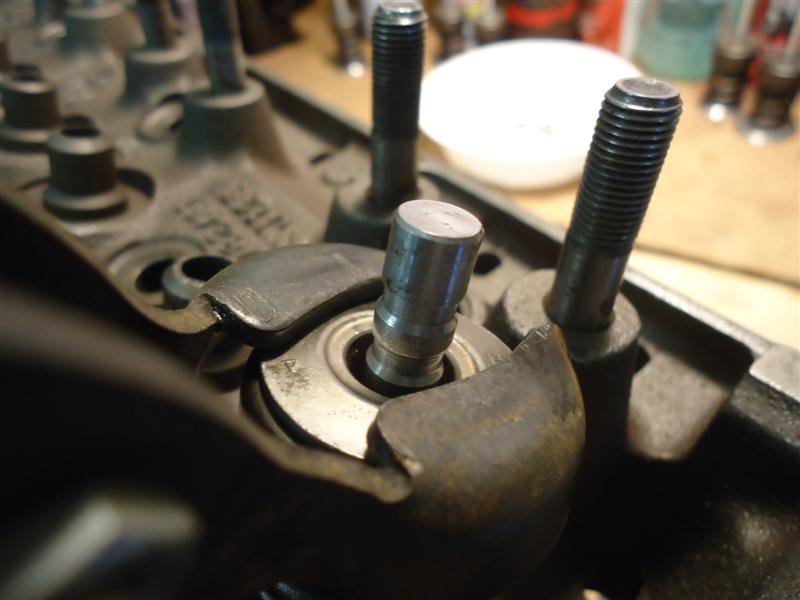
After 50k miles, SBC valve-springs often begin to lose pressure. If yours are worn slightly, a spacer washer (shim) can be placed under the spring to compensate for the loss of strength.
Shims should never be used to increase pressure, as they may bind. Heavy-duty springs should be used only if recommended for the cam you're using.
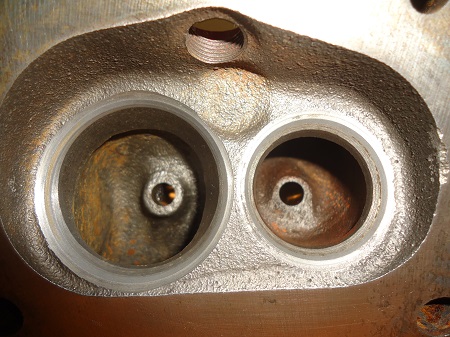
Lapping the valves confirmed the valve seats were airtight.
Paint Cylinder Heads
Before painting, the heads were sprayed with brake parts cleaner (leaves no residue), wiped down with shop towels, and scuffed.
After taping them up, I sprayed them with a few coats of Chevy Orange Engine Paint. No primer is needed.
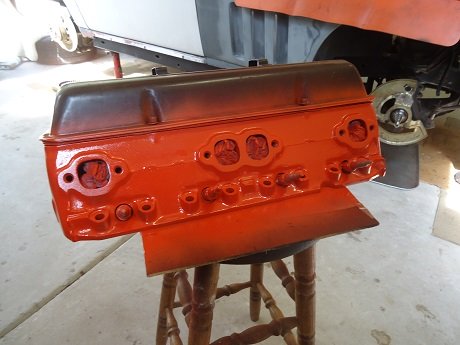
That's an old set of old valve covers I installed while painting.
Read: Spray Paint Engine Block And Parts
Clean both cylinder head surfaces before setting the heads back onto the engine. The block should have two dowel pins for each cylinder head to align onto.
Re-use or Replace Head Bolts?
Although the head bolts on this Chevy 327 are over 50 years-old, they were OK to re-use. I can't think of the last time I heard of a SBC head bolt failure.
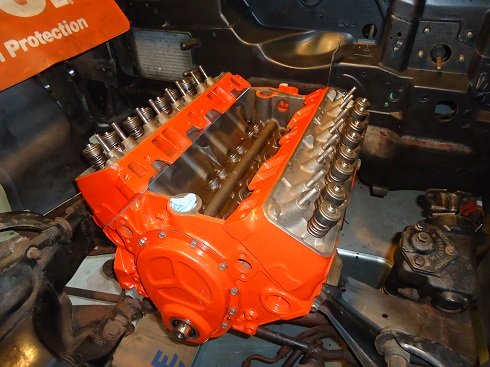
Thoroughly clean all head-bolt threads before re-installing. Also, chasing the threads in the block is a good idea.
Install Head Bolts
Some techs like to put a small dab of Permatex Ultra Black on all head bolt threads (on the bottom 1/4"), and a smaller dab of engine assembly lube underneath the top bolt-heads. The sealant takes up the remainder of the space between the threads to prevent any leaks. Lubricating underneath the bolt-head gives more consistent torquing.
NOTE: Felpro head gaskets are installed dry.
Last step is to torque the bolts, which is done in steps. First, snug them with a 3/8" ratchet, then torque to 40, 50, 60, and then 65.
****************************
Related Articles: