Replace Rusty Floor Panels
Article by Mark Trotta
There are several ways to repair rusty floors in an old car. If the hole isn't too big, you can do a patch repair. For a larger repair, the damaged section can be replaced with a partial panel. If the rust damage is really bad, replacing the entire floor pan with a one-piece panel is the best way.
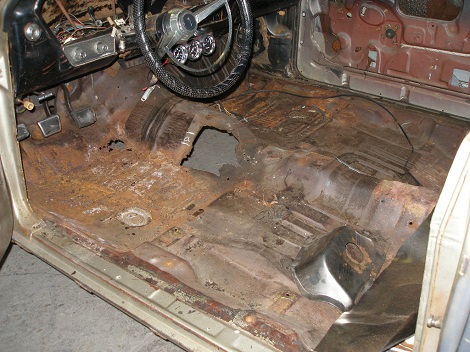
Patch Panel
The method you choose will depend not only on your skill and budget, but also what's available for your make, year, and model.
Geezer Alert: Back in the day, there wasn't the vast selection of replacement body parts that are currently available. We often made floorboard patches simply because new panels weren't available.
Read: How To Make A Patch Panel
If it's just a small area that needs repair, a patch panel is fine. But for larger areas, consider a full or partial floor panel.
**************************
Full Floor Pan vs Partial Floor Pan
There are instances where using a partial panel is preferred. For example, if only the driver's-side is bad, and the rest of the floor is good.
A partial floor panel can be trimmed down to cover only the damaged section. Try to save as much good, original metal on the car as you can.
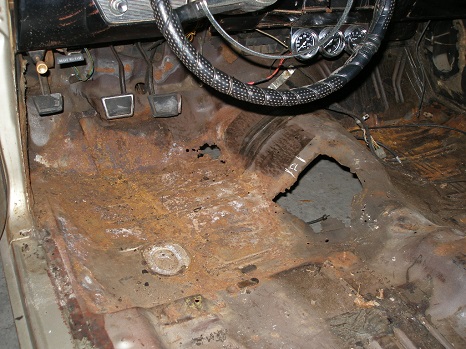
Curiously, replacing the full floor pan is actually less work than doing two partial panels. Think about it this way; if you replace left and right side partial panels and leave the original tunnel intact, you're cutting and welding a lot more sheet metal than if replacing the whole floor.
After the old floor is removed, a one-piece panel will need only slight trimming before being welded in. A partial panel requires a lot more trimming.
Installed correctly, a full floor replacement adds value to a restoration. It also looks better from underneath.
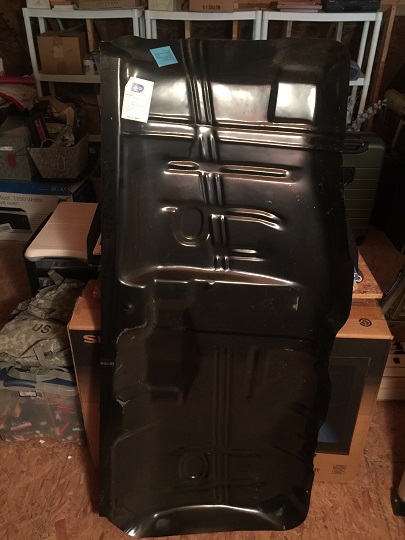
Caution: On unibody cars, the floor is part of the vehicle's structure.
**************************
Floor Pan Removal
Once you decide on full or partial panels, the floor can be removed accordingly.
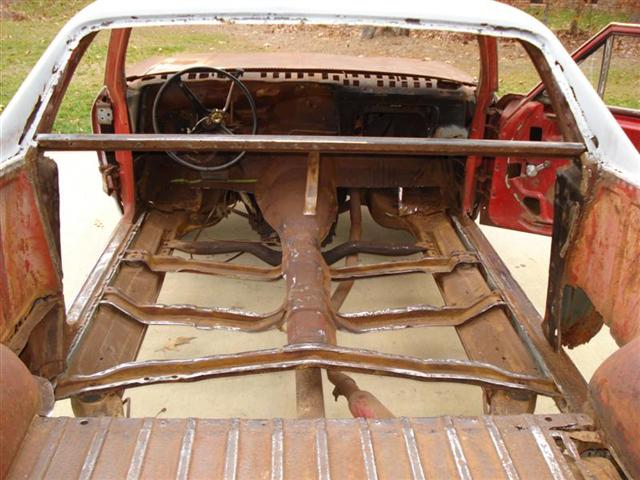
If you've decided to replace the whole floor, you'll be drilling out a lot (50+) of spot welds.
**************************
Removing Spot Welds
Most American-made cars have 'spot welds' holding down their floors, and removing them is not a quick or easy job. They need to be cut out slowly with a spot weld cutting tool.
When I first began doing body panel replacement, I made the mistake of attaching my spot weld cutter to an air drill. All that did was quickly break the cutting teeth. I've since learned that metal needs to be drilled slowly. Now I use a hand-held electric drill. It's slow, but effective.
Before drilling, center-punch the spot weld before using the cutter. This prevents the cutter from "walking" off it's mark. Cut slowly with low RPM's with an electric or cordless drill. Be patient and let the bit slowly dig in.
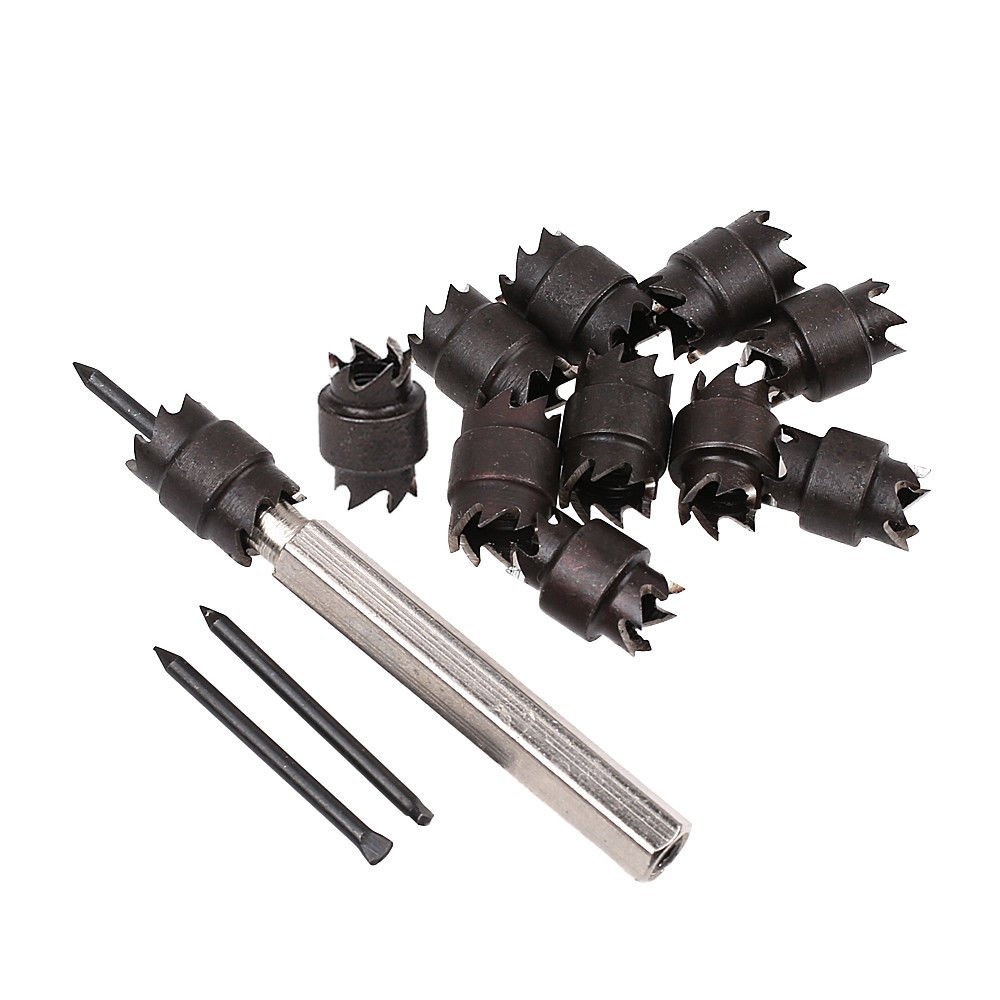
Shop: Spot Weld Cutting Tool
TIP: When drilling out spot welds, spray a little cutting fluid (or WD-40) on the cutting tip to keep it cool.
**************************
Butt Weld vs Spot Weld
Your car's original floor pans were spot-welded in because it was the most cost-effective (cheapest) way for the manufacturer. Rather than duplicate the factory spot welds, many restorers prefer to run a complete bead around the new panel. Decide for yourself, how authentic do you want your old car restoration to be?
Tip: If you're spot-welding, pre-drill the holes in the new panel. Not only will this save you time during installation, it's a lot more comfortable drilling dozens of holes standing at your work bench than it is while crouched inside a car.
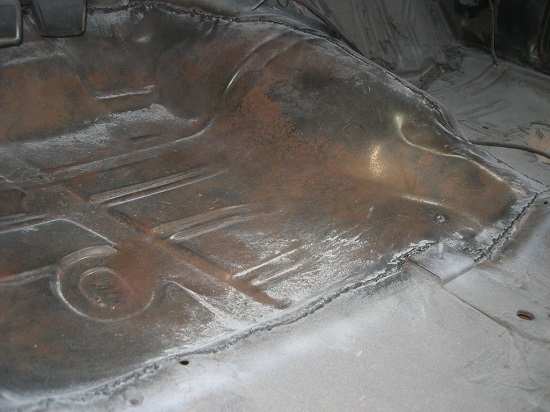
Butt Weld vs Lap Weld
Many restorers choose to lap weld floor pans because it's easier. However, butt welding looks better and leaves no overlaps, and it's a stronger process.
**************************
Install Partial Panels
If you're doing a partial panel, you'll be cutting around bad metal. Tape off the spots to be repaired with masking tape. Mark off about one inch around the rusted-through part.
TIP: Only cut away what you have to, keep as much original metal on the car as possible.
With an air-powered cut-off wheel, slice along the taped line, letting the air tool do the work. Don't force it to cut faster, as this will only overheat the tool and the metal.
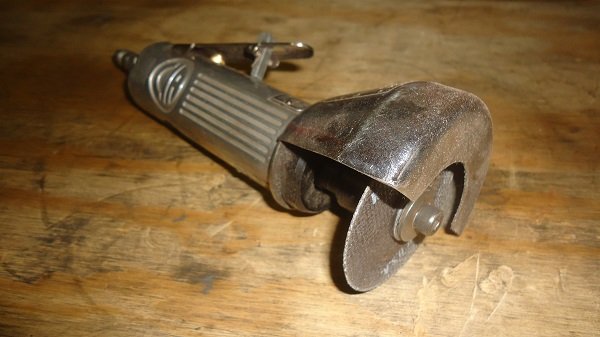
Read: 9 Ways To Cut Sheet Metal
After the old panel is removed, go over the edges of the good part of the floor. A 4-1/2" electric grinder with a wire wheel works well, or you can use an air-powered sander. You want to have a shiny, solid rust-free surface to weld onto.
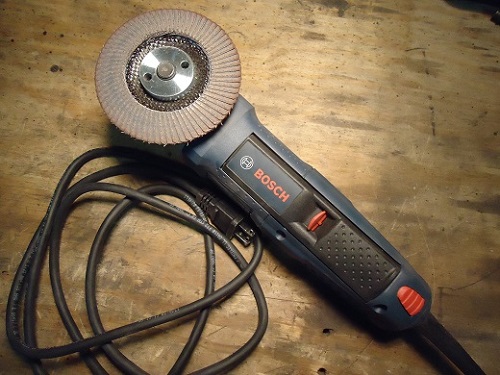
Read: Best Angle Grinder For Automotive
**************************
Zinc Spray
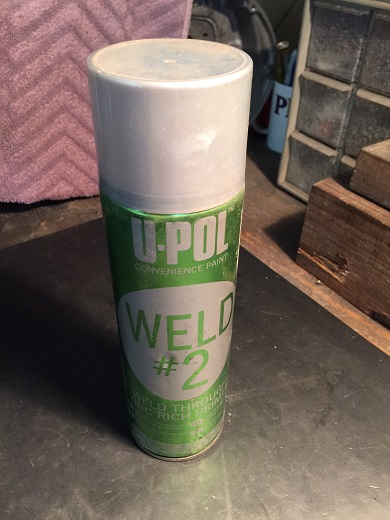
For additional protection against rust, spray both sides with a zinc-rich primer. These are offered by many different companies. The primer dries quickly, and gets sprayed on after trimming but before welding.
**************************
Trim And Fit New Panel
After cleaning both mating surfaces, test fit the panel to the floor several times. When you're satisfied with the fit, clamp the panel into place while aligning everything up. C-clamps are often used to hold sheet metal into place while welding.
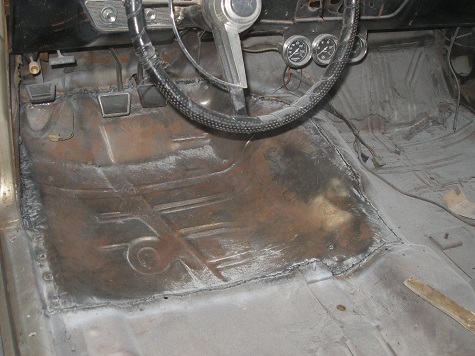
Tack on a few welds to hold the panel in place. Then stop and put the welder down. Step back, check it, then check it again before final welding.
**************************
There are a few alternatives to welding floor panels:
Epoxy/Adhesive
You may have heard that many new cars are being assembled with structural adhesive right from the factory. Yes, that's true, but they also go through an oven to cure the adhesive.
Pop Rivets
This is the low buck method that some of us did before learning how to weld (high school shop). After getting the replacement panel or patch cut to size, rivet it down and apply seam sealer (usually from a tube). It's not pretty, but it gets the job done. This type of patch will be very difficult to remove in the future.
Fiberglass
After mixing up a two-part resin, the resin gets poured over a mesh screen, which covers the metal to be repaired. A squeegee or fiberglass roller is then used to work out the air bubbles. Unless you repair fiberglass panels for a living, I do not recommend this method.
**************************
Learning To Weld
If you're just getting started with automotive bodywork, a portable 110v MIG welder is a good choice. They work well with thin sheet metal, easy to learn on, and most people can produce quality, good looking welds with minimal practice.
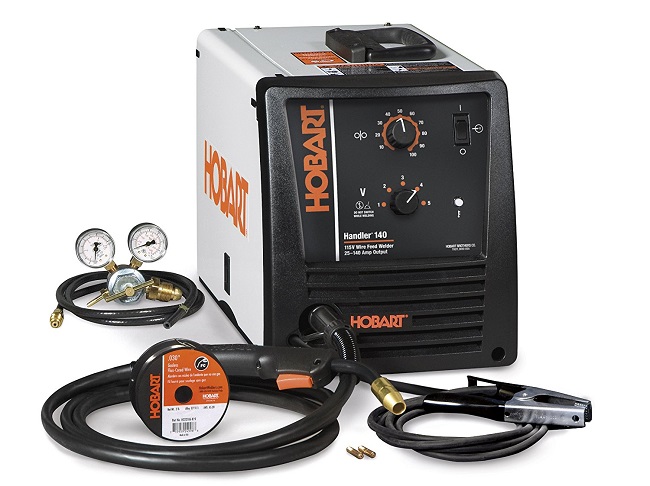
Contrary to advertisements you see or read, nothing you buy will make you "weld like a pro." Only time and practice have that ability.
An experienced welder with a bad machine will weld better than a inexperienced welder with a good machine.
**************************
Related Articles: