Tecumseh Flathead Engine Overhaul (Part One)
Article by Mark Trotta
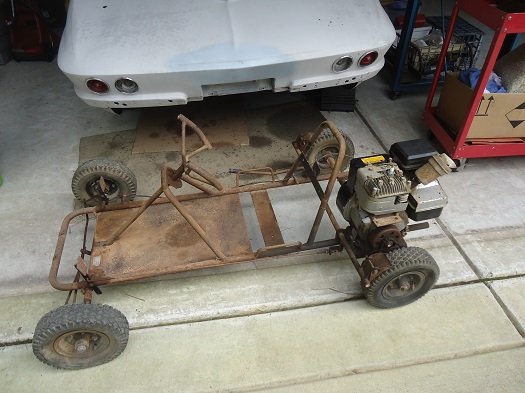
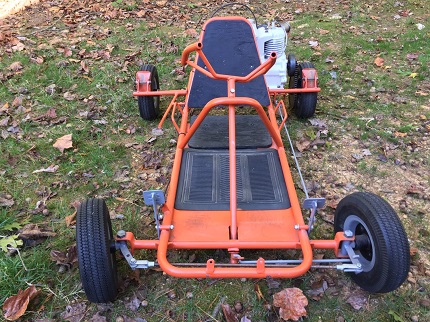
When purchased, the motor from this vintage go kart was rusty, non-running, and missing parts. It also had a stuck piston.
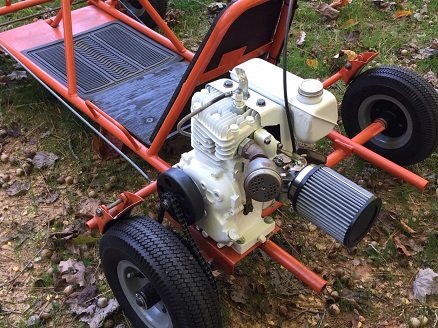
Tecumseh H25 Flathead Engine Before and After Overhaul
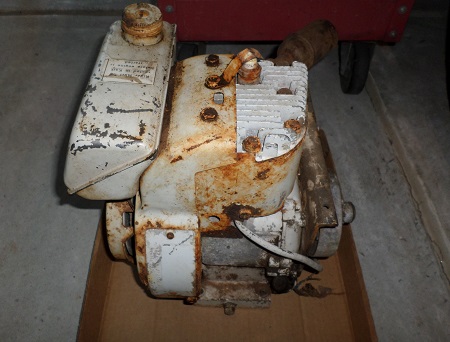
This article covers removing the stuck piston, renewing valve seats, checking crankshaft and connecting rod, cylinder bore honing, and installing piston and rings.
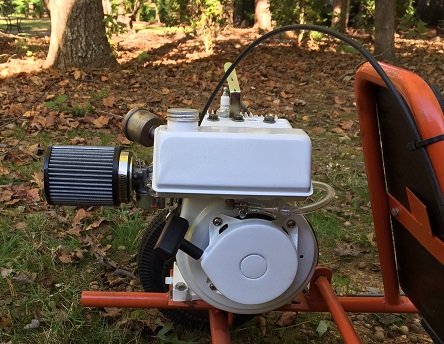
Sheet metal restoration and gas tank repair are covered in Tecumseh Flathead Engine - Part Two
Ignition, carburetor, and engine start-up are covered in Tecumseh Flathead Engine - Part Three
***********************
Engine Disassembly
After spraying with WD40 and allowing to soak for several days, engine disassembly began.
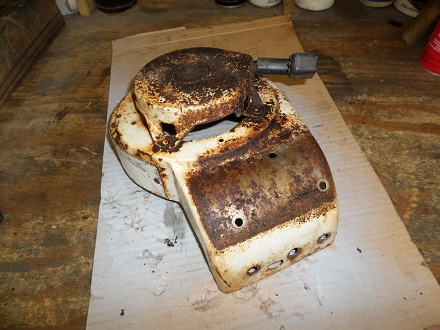
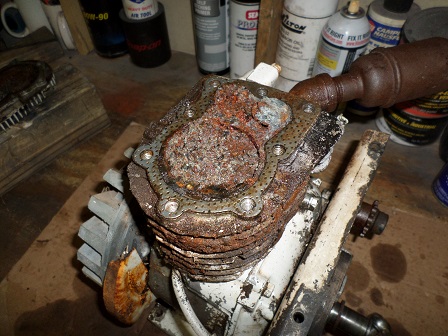
Lots of crud was found underneath the cylinder head.
Removing the side cover revealed this nasty sludge build up--no wonder the motor stopped working!
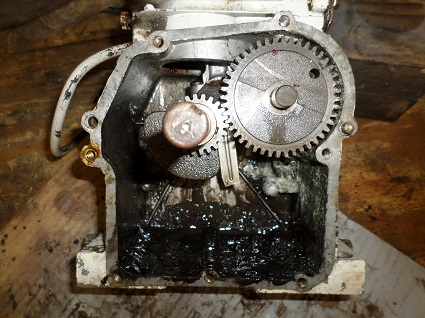
NOTE: Engines that have been run on non-detergent oil without proper oil changes will often have a thick sludge build-up like this one.
***********************
Remove Stuck Piston
Because it sat for years, the rings became "frozen" to the cylinder bore. The piston was stuck and would not move.
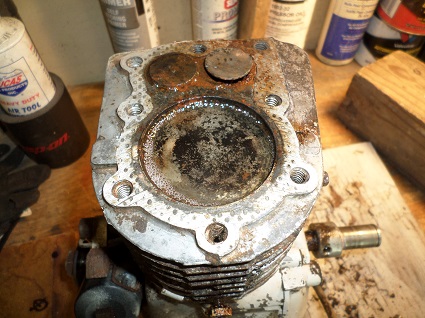
After a week of letting vinegar soak on top of the bore (and refilling it several times), it was time for the hydraulic press.
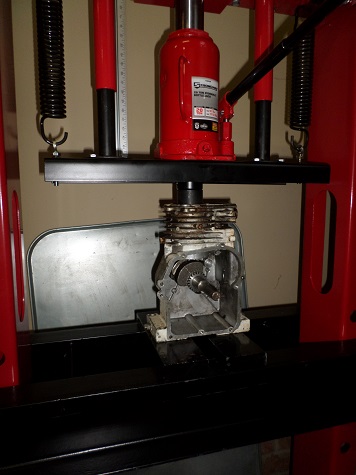
Lightweight aluminum blocks can easily crack, so only minimal pressure was applied. On first try, the piston moved slightly, perhaps 1/8 of an inch.
Because of it's age, I decided play it safe and let it soak in vinegar for another week.
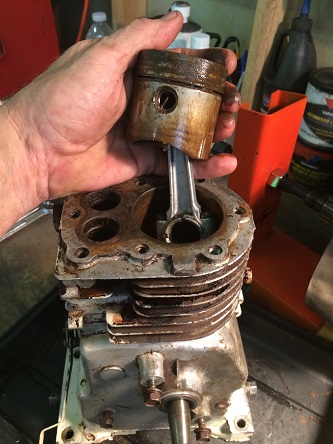
Patience pays off when working on old rusty engines.
Although the piston assembly came out intact, the rings were frozen solid to the piston, so they were carefully broken off in pieces.
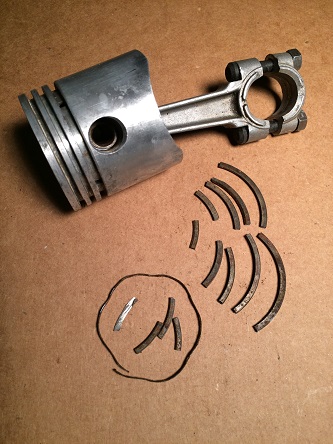
The top of the old piston was cleaned with a soft wire brush. The ring grooves were also cleaned, as well as checked for excessive wear.
***********************
Integral Valve Seat Repair
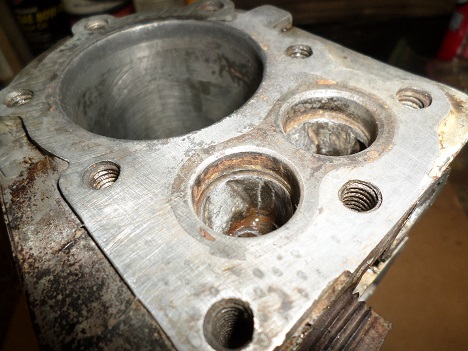
On small-frame Tecumseh engines, the valve seats are integral and not replaceable, so I cleaned these up as best as I could.
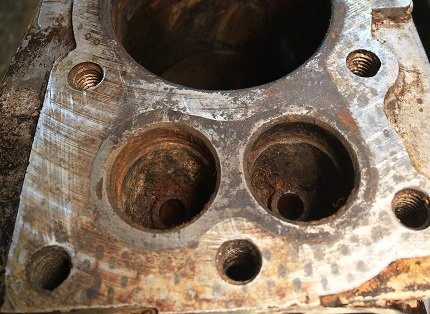
To refurb the seats, several 2" x 2" squares were cut from a sheet of Emory cloth, then a hole was poked in the center of each.
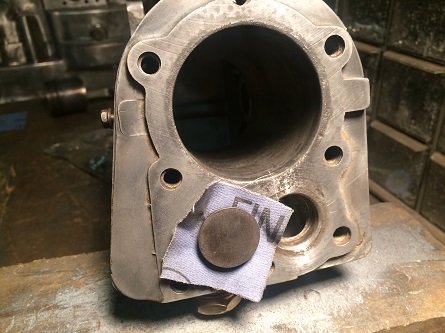
Starting with a piece of coarse Emory cloth, I stuck the square onto the valve, reached into the valve chamber from the other side, and turned the other end of the valve back and forth with my fingers, all the while keeping a slight pressure on the valve head.
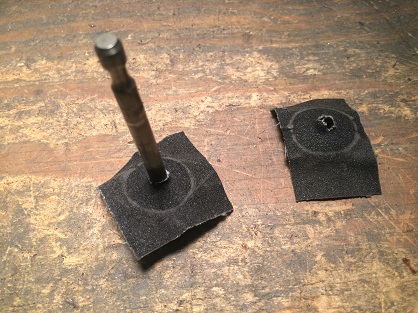
The squares were rotated back and forth on the seat, switching from coarse, to medium, and then to fine grit.
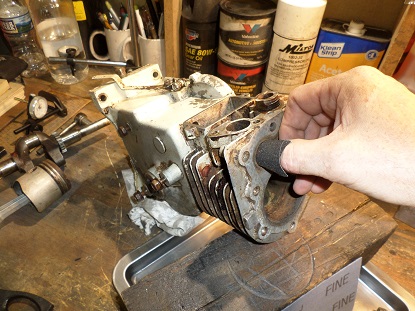
The intake and exhaust ports were also cleaned up using strips of Emory cloth wrapped around a finger.
Intake and Exhaust Valves
The intake valve (bottom left) was badly corroded and had to be replaced. The exhaust valve (bottom right) was rusty but reusable after being cleaned up with a wire wheel.
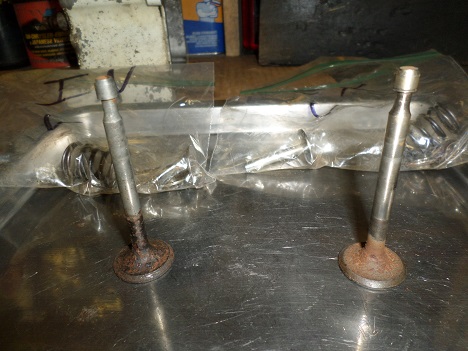
Fortunately, intake valves were still available (exhaust valves are obsolete). New valve springs were also available and were replaced.
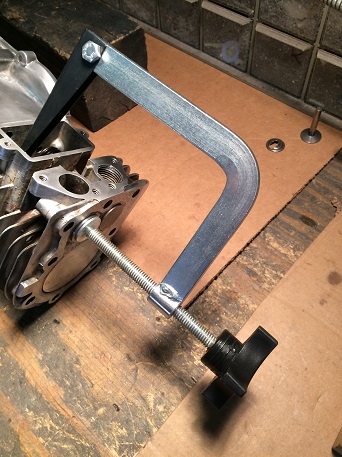
With a small engine valve spring tool, removal and installation is straightforward.
***********************
Block Inspection and Cleaning
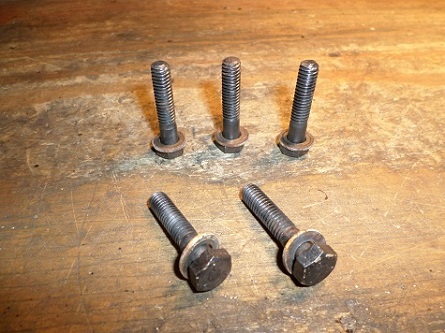
The block was sanded down by hand, and smaller parts were wire-wheeled. Nuts and bolts were cleaned and threaded bolt holes were tapped.
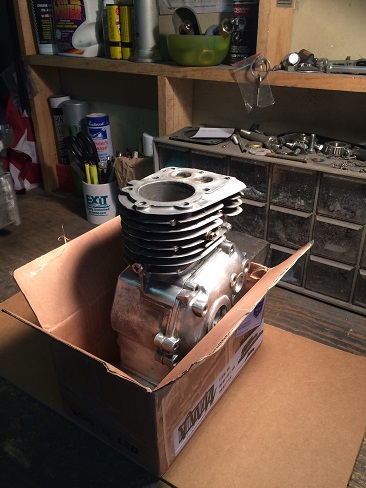
With the exception of a couple broken and missing ones, I was able to re-use the old nuts, bolts, and washers.
***********************
Crankshaft Inspection
In non-ball bearing small engines such as this Tecumseh H25, one side of the crankshaft rides directly in the block, while the other side rides in a side cover. All surfaces must be smooth and round.
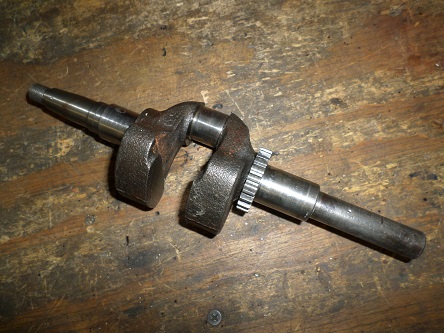
Crankshaft journal wear was checked with a micrometer, but tolerances are not that critical in a 2-1/2 horsepower kart motor!
NOTE: If a side cover bushing is badly worn or damaged, the cover can be replaced on most Tecumseh engines. But if the engine case bushing needs replacing, consider having a machine shop do this, or finding another block.
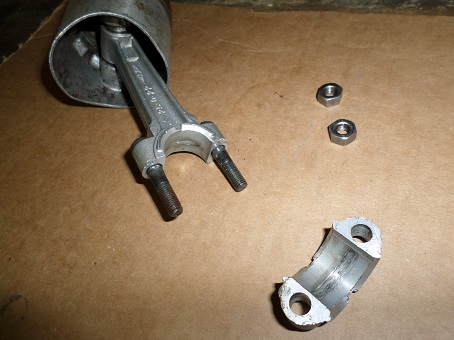
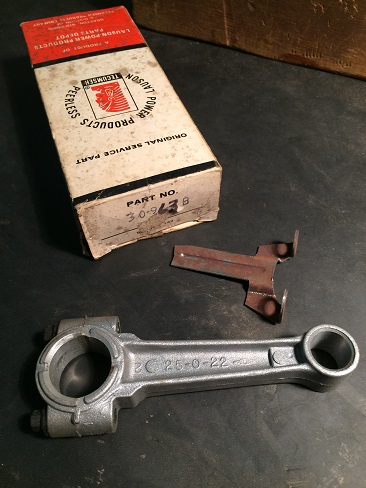
Finding obsolete parts can be time-consuming, such as a new connecting rod for a 50+ year-old small engine.
***********************
Cylinder Hone
If a cylinder wall has a shiny finish, you need to remove that glossy glaze and leave a cross-hatch pattern with a 3-stone hone.
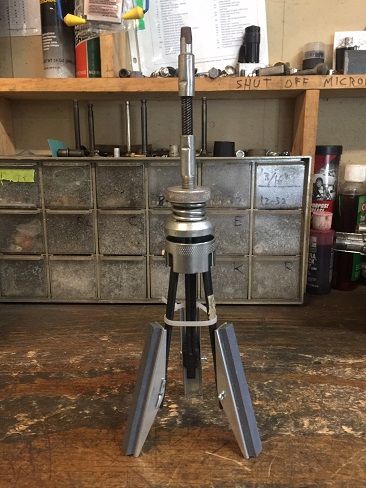
This allows the new piston rings to seat properly.
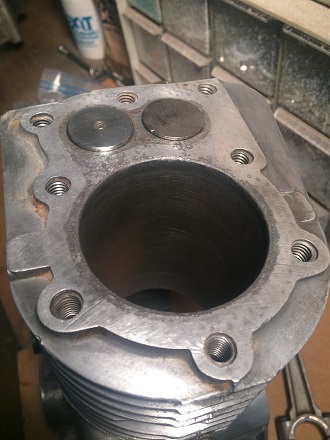
After honing, the cylinder was thoroughly cleaned, then dried with compressed air.
Install Piston and Rings
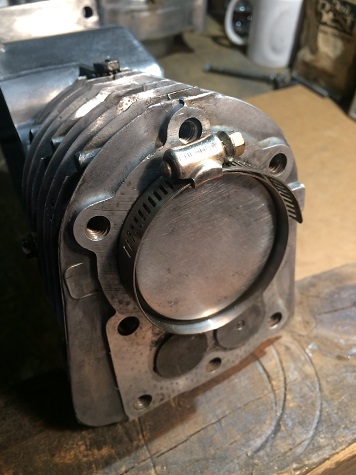
As a substitute for a small engine ring compressor, an automotive hose clamp was used.
***********************
Crankshaft Gear
On many Tecumseh small engines, the crank gear is pressed on. If it has severe pitting or missing teeth, it should be replaced.
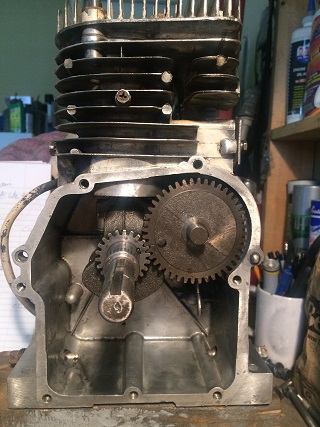
When installing crank gear, the dot faces out so you can line up the timing marks.
***********************
Tecumseh flatheads still power quite a few old snow blowers, so most parts are still available.
Engine Gasket Kit
NOTE: Although some gaskets are the same, larger models take a different gasket kit than smaller ones.
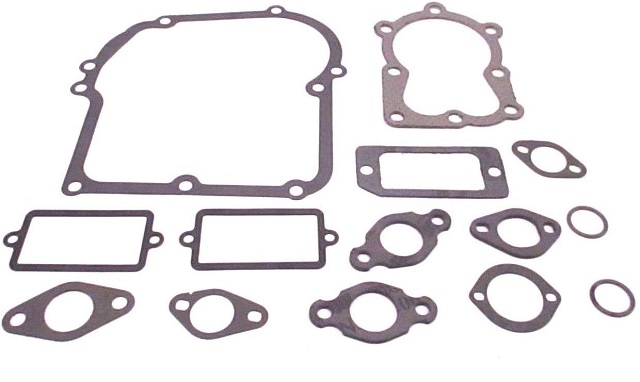
Shop: Tecumseh 2.5HP 3HP 4HP Engine Gasket Set
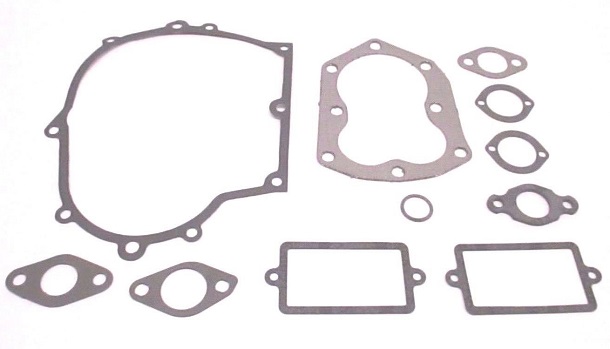
Shop: Tecumseh 5HP 6HP Engine Gasket Set
***********************
Related Articles:
Tecumseh Flathead Engine Build - Part Two
Tecumseh Flathead Engine Build - Part Three
