Tecumseh Flathead Engine Overhaul (Part Three)
Article by Mark Trotta
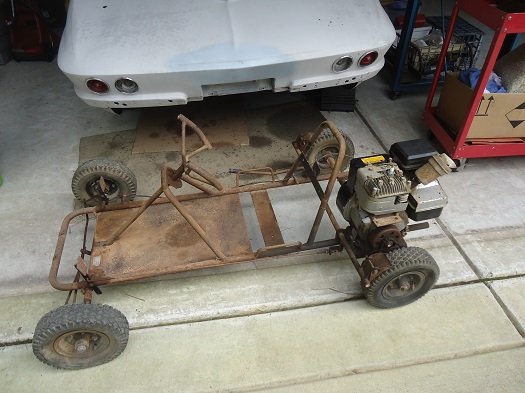
Part three of the Tecumseh flathead overhaul includes ignition, carburetor, and finally, engine start-up.
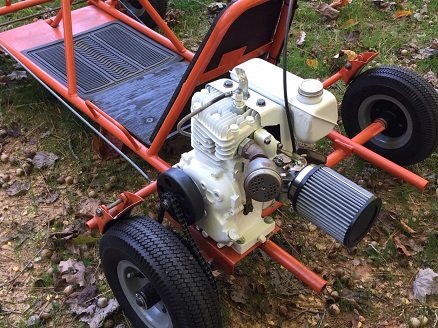
Crankshaft, connecting rod, valve seats, cylinder bore, piston and rings are covered in Tecumseh Flathead Engine Build - Part One
Sheet metal restoration and gas tank repair are covered in Tecumseh Flathead Engine Build - Part Two
********************
Check For Spark
On small engines, it takes very little RPM (about 350) to produce spark. To check, remove spark plug, reconnect coil cable, hold plug against the motor to ground it, and pull the rope-start.
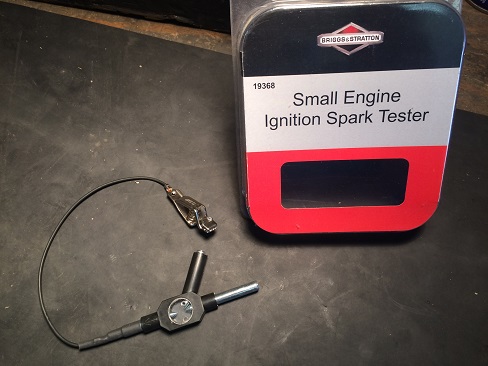
An easier way to test for spark is with an ignition spark tester.
Clip one end of the spark tester to the spark plug wire and the other clips onto a ground (usually cylinder head). As the flywheel turns, watch for spark in the clear circle on the tester tool. On this old Tecumseh, there was none.
********************
Flywheel Removal
To get to the ignition points, the flywheel needs to be removed. A three-jaw puller or specialty tool is best for this procedure.
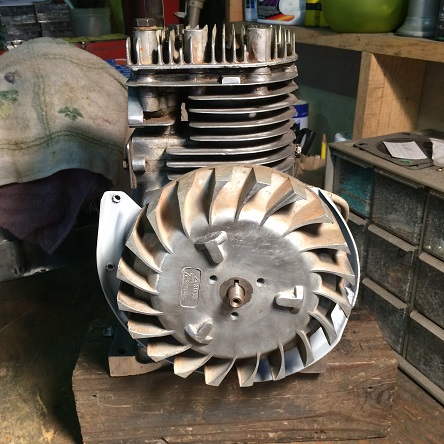
CAUTION: Do not try to pry off a 50 year-old flywheel with a screwdriver. Aside from being very old, it's made of soft aluminum and damages easily.
TIP: Put the keyway somewhere it won't get lost.
Early Tecumseh motors have two magnets which sit flush with the inside of the flywheel. An easy testing procedure for checking these is to hold a small hand-held magnet near them. One should attract it and one should repel it.
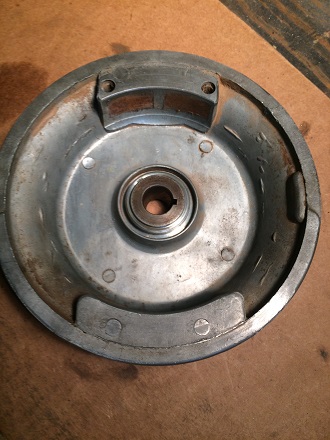
Replace Tecumseh Points and Condenser
Early Tecumseh points are housed in a small metal box in the magneto unit. The condenser mounts to the stator bracket. Replacement procedure for both is straight-forward, and is the same for most vintage Tecumseh engines.
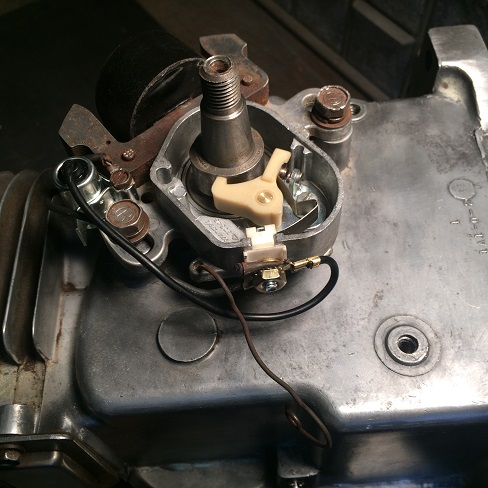
If you still have no spark after replacing the points and condenser, a bad coil may be the culprit. Note that the spark plug wire is not serviceable. It is part of the ignition coil, so if suspect it's bad, you'll need to replace the coil.
Magneto Removal
For restoration purposes, a total strip-down of this vintage small engine required removal of the magneto unit. Ordinarily, it would not be removed unless it's bad. Once removed, they are difficult to re-align.
The stator and coil assembly is held on by two bolts in elongated slots. The slots are there so the stator can be moved to adjust the armature air gap (see below).
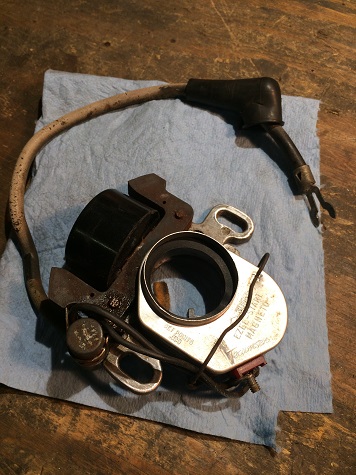
Before removing the stator, make a note of the bolt indentations. This will help re-assembly. You should be able to tell where the coil was mounted before by the bolt washer marks.
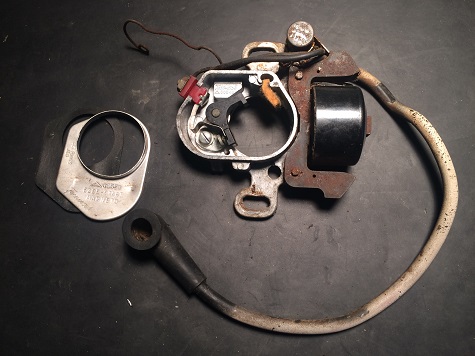
There is a removable breaker point cam which slips on and off the crankshaft. This oblong cam opens and closes the points. Rarely do these need replacing, but check for damage and wear. Notice there is an arrow on one side, it should face out towards you.
Armature Air Gap
If you are replacing or re-installing the magneto unit, you need to position it close enough to the flywheel to get a proper signal from the flywheel magnets, but not so close that it's rubbing against the coil. Trouble is, it's hard to see because it's under the flywheel.
The space between the flywheel magnets and the coil pickup should be .0l0" to .012". On the other side of the flywheel (180 degrees) the gap will be about .0125" (1/8").
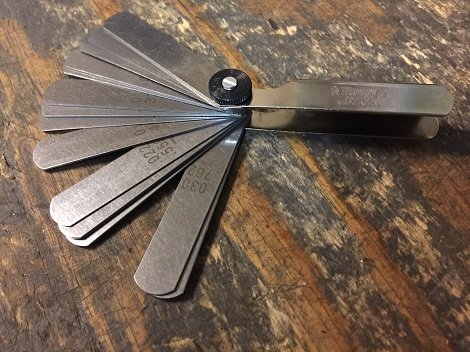
Back in the day, small engine mechanics placed a matchbook cover between the flywheel and the magneto coil, re-installed the flywheel, then pulled the matchbook cover out. Although this may sound nostalgic, a feeler gauge is quicker and more precise.
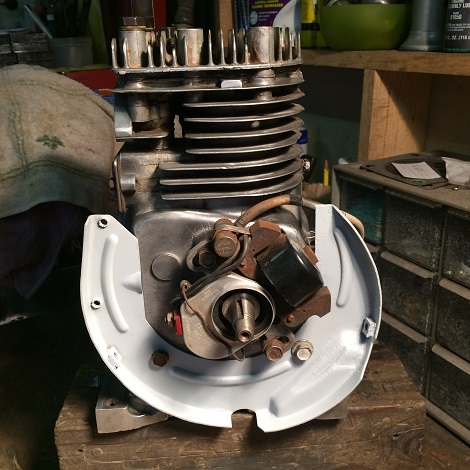
Once the new points were installed and set at .020" gap, the engine now had spark.
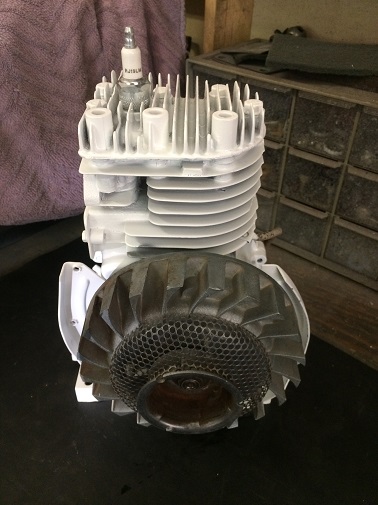
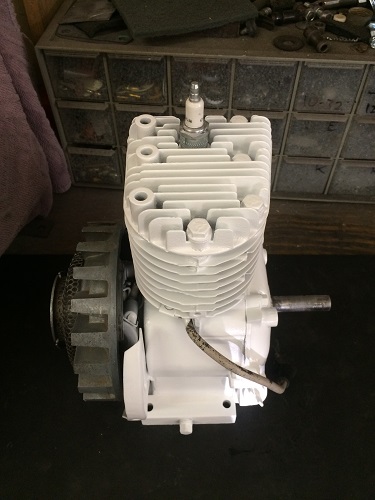
Before the flywheel was put back on, the engine was painted white.
********************
Simple Kill Switch
On magneto-powered small engines, the ignition is always on. When you press a kill switch button, it grounds the ignition and stalls the motor.
On this kart, a two-pole toggle switch was installed. One wire is grounded to the frame, and the other wire goes to the engine. When you throw the switch, the motor stalls.
******************
Replacement Carburetor
There were several types of carburetors fitted to Tecumseh flathead engines. Some may have chokes, and some may have an idle adjustment screw. Smaller horsepower engines (Tecumseh H25, H30, H35) may have neither of these.
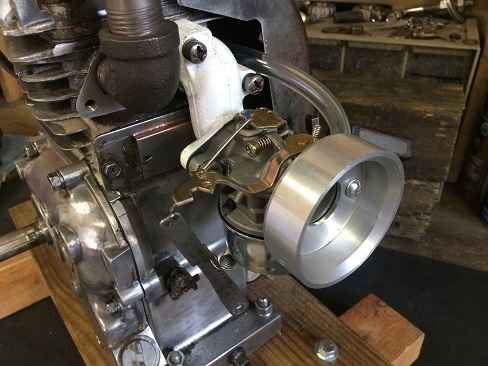
Finding A Replacement Carb
The first replacement carb I bought had a primer bulb, but no choke, and was non-adjustable. It fit correctly but the motor wouldn't start. The primer bulb was working, as gas was getting into the float bowl, but it just wouldn't start the motor.
After searching online for a solution, I found a forum member with the same problem on an old snow blower. He remedied his situation by switching to a carburetor with a choke.
Choke-Style Carburetor
The second carb I purchased was a replacement for carburetor numbers 631921, 632284, and 631070A, which are commonly found on Tecumseh H25, H30, and H35 engines.
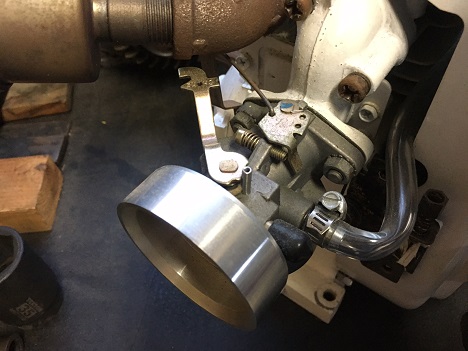
Applications for this carb include many Tecumseh-equipped snow blowers, which operate in cold climates and need a choke to help it start. It is also a popular replacement carburetor for Troy-bilt roto-tillers.
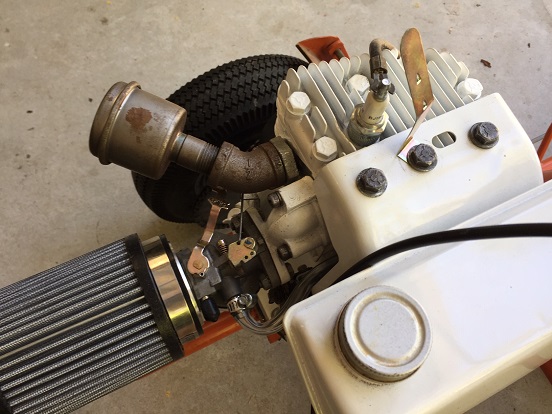
NOTE: If the choke lever on the new carb is too long and is causing fitment issues, you can (carefully) trim it down with a hacksaw or cut-off wheel.
********************
Air Filter
All gas engines need some type of air filter to keep dirt out of the carburetor, and small engines are no different. With the exception of initial break-in and troubleshooting, you should always run your engine with an air filter.
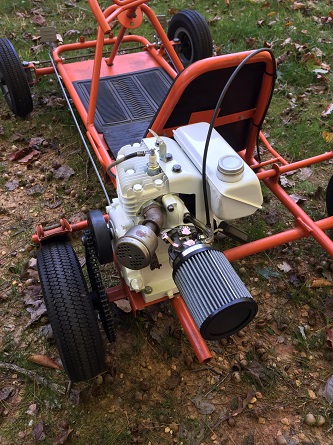
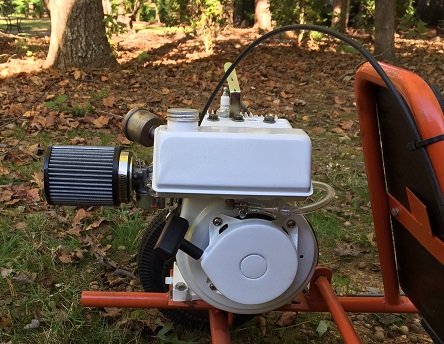
I was missing the original air filter, so I temporarily installed a high-flow air filter that I took off another small engine.
********************
Start-up
A new Champion RJ19LM spark plug was installed before start-up. Correct gap is .030"
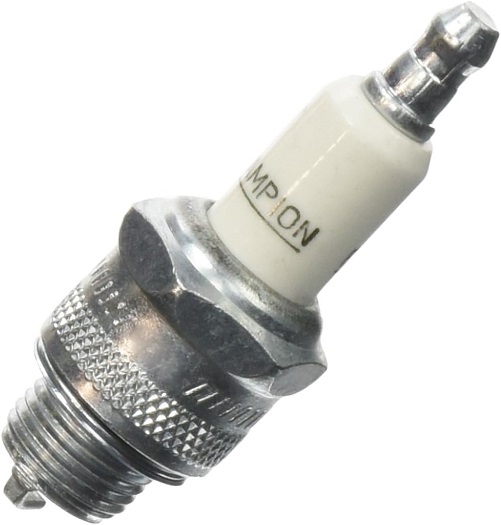
After about 10 pulls, the motor started up. It smoked for about a minute, then cleared up. I let it run for just a few minutes, then shut it off to let it cool down. Not sure if that was necessary, but it's a habit from rebuilding air-cooled motorcycle engines!
********************
Notes and Misc
Keeping track of engine disassembly with pictures proved to be invaluable later on, particularly while reinstalling the governor and carburetor linkages.
********************
Related Articles:
Tecumseh Flathead Engine Build - Part One
Tecumseh Flathead Engine Build - Part Two
