Restore An Old Go Kart
Article by Mark Trotta
The go karts that we baby boomers grew up with as kids have become very collectable, and in restored condition exchange hands for a surprising amount of money.
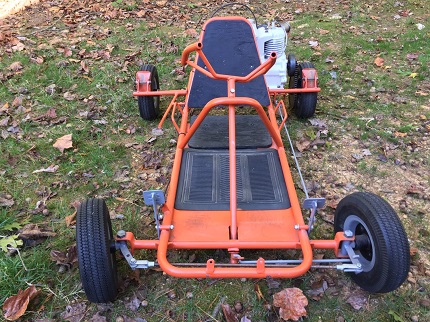
Before and after restoration
Aside from nostalgia, reasons for the surge of interest include affordability, mechanical simplicity, and ease of transport and storage.
The Purchase
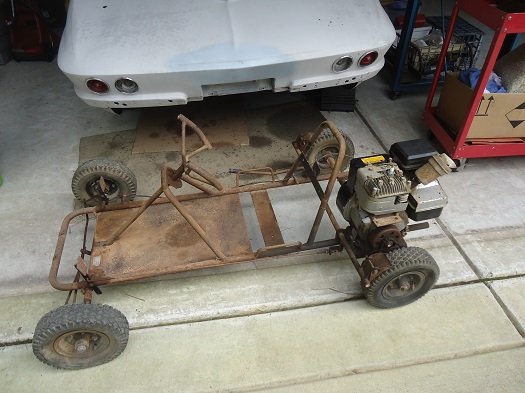
Resting peacefully in a barn for several decades before I showed up, this old kart had previously had an impact with a tree, leaving the steering linkage slightly bent. A new steering rod was easily fabricated from a piece of threaded rod.
Bird Engineering
On the horizontal bar behind the seat, the tin sticker read "Bird Engineering Inc P.O. Box J Fremont, Nebraska 68025" followed by a hand-engraved serial number.
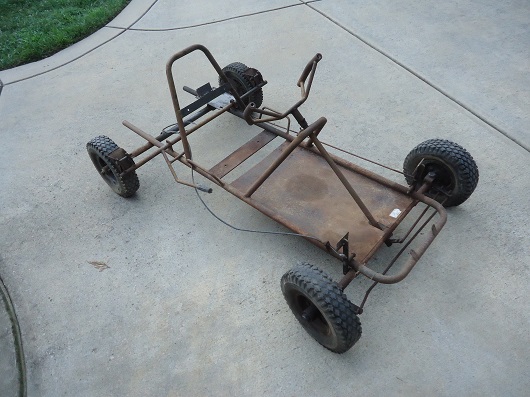
I did a little homework and found that Bird Engineering was founded in 1959, and was a manufacturer of go karts, mini-bikes and three-wheelers. Their products were sold under their name as well as Sears and JC Penney. The company was bought out by Phoenix Engineering somewhere in the 1980s.
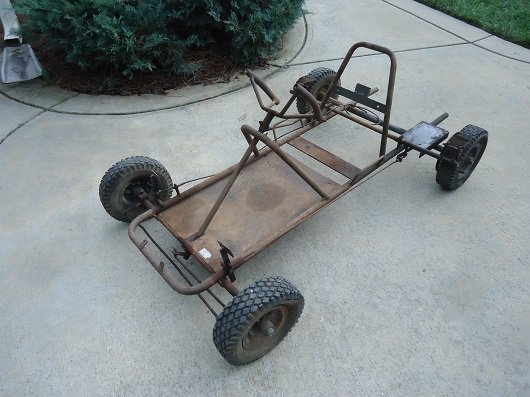
Dimensions of this cart are length 57", width 35", height 24", and a wheelbase of 43".
*******************
Prep And Paint Kart Frame
Everything was stripped down to bare metal, scuffed, then cleaned with mineral spirits. Masking tape was applied to seal off anything not to be painted.
Since the frame was a solid shade of brown rust, I could only guess what the original color was. I decided on a two-tone theme: Allis-Chalmers Orange for the frame, and Industrial Grey for the wheels, pedals, and linkage.
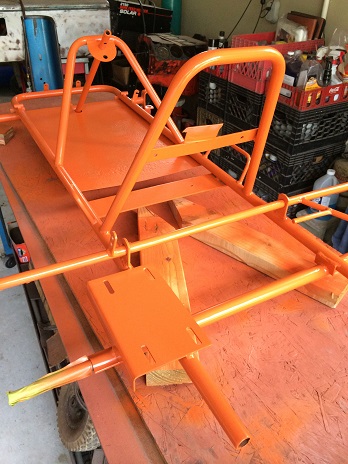
The key to every good paint job is in the preparation.
TIP: Before you paint, select an area that is well-ventilated, near an open window or open garage door is good. Spray-can paint fumes aren't as harmful as other paints, but good ventilation provides you not only with fresh air, it also helps the finished product dry faster.
After letting the primer dry for several days, the frame was lightly scuffed with 400 wet paper before applying the color coat.
The first color coat was allowed to sit for several days (out in the warm sun is best), then scuffed with 600 wet paper and another color coat was applied.
*******************
Tires and Wheels
These rims are five-inch, which are much less popular than six-inch. They are a 4-bolt with 2-13/16" bolt circle.
Two-Piece Kart Rims
If you've ever tried to install a wheelbarrow or cart tire on a solid rim, you'll appreciate two-piece split rims. They'll save you a lot of time and aggravation on assembly and disassembly.
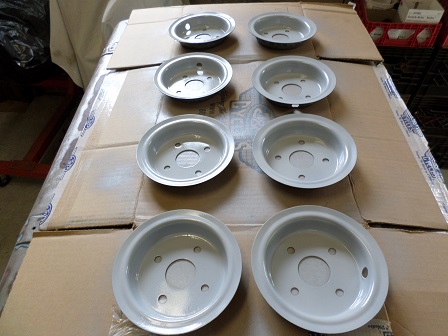
Two-piece rims will always require tubes.
Tire Replacement
The old, worn-out knobbies were replaced with 4.10-3.50 x 5" sawtooth tread tires.
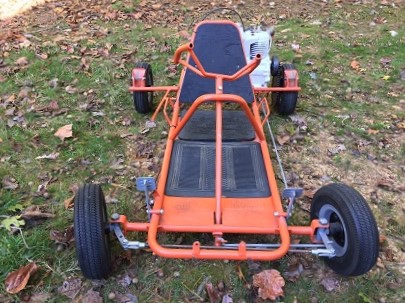
Because 5" kart tires are not as common as 6" tires, there's fewer replacement options.
*******************
Tecumseh Flathead Overhaul
Many old go karts and mini-bikes were fitted with either a Briggs & Stratton or Tecumseh 4-stroke flathead small engine.
This one had a Tecumseh 2-1/2 HP motor, dated 1968.
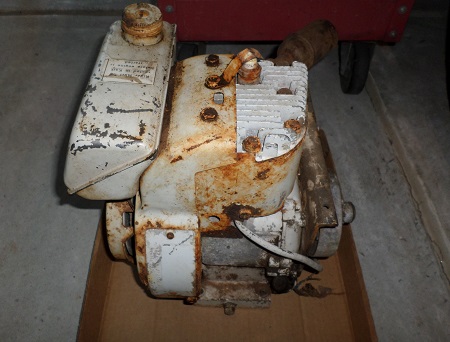
The motor was original and fairly complete, but needed a complete overhaul.
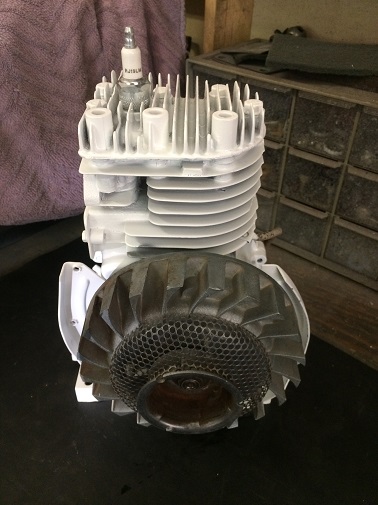
Tecumseh Flathead Engine - Part One covers crankshaft, connecting rod, valve seats, cylinder bore, piston and rings.
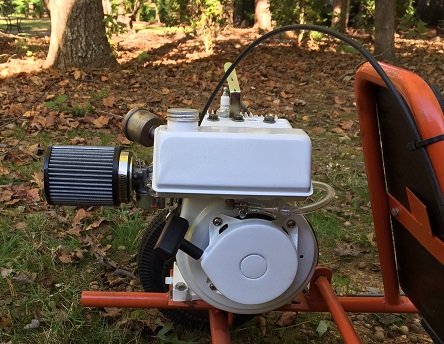
Tecumseh Flathead Engine - Part Two covers sheet metal restoration and gas tank repair.
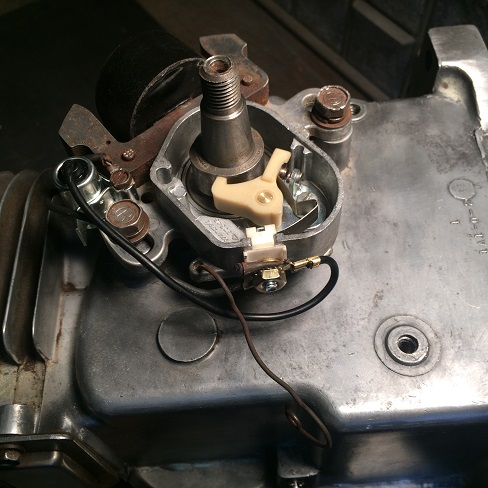
Tecumseh Flathead Engine - Part Three covers ignition, carburetor, and engine start-up.
Of course, I could have bought and installed a brand new motor and be done with it, but that would've taken away from the old school look, and a lot of the kart's vintage value.
*******************
Go Kart Clutch
A centrifugal clutch found on old school go karts does not like "on-and-off" operation. If you drive it this way, the clutch will have a very short life, so it's better to run pedal down or not at all.
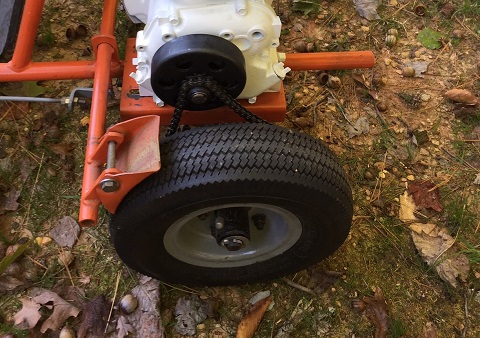
A solution to this would be installing a Torque Converter, which also gets more power to the rear wheel.
*********************
Scrub Brakes
Many 50's and 60's go-karts were fitted with scrub brakes. Pressing down on the left foot-pedal activates a long rod, which activates a rear cross-rod, which has two U-shaped metal pucks pivoting on a bolt in front of the rear tires.
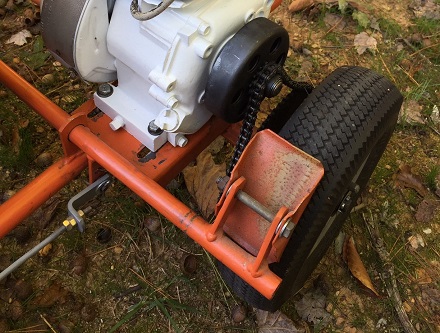
Their efficiency is dependent on the type of tires they are being used with.
Sawtooth tread tires, like the fitted, work pretty well with scrub brakes. But, being powered by a 2-1/2 horsepower Tecumseh, the kart's not going very fast to begin with.
*********************
First Ride
With everything tightened down and inspected, I fired up the motor, climbed in, and off I went. What a blast! Rolling along six inches above the pavement, neighborhood kids smiling and waving.
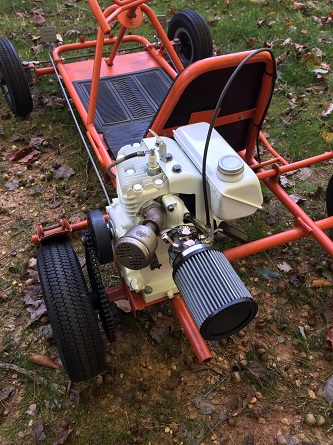
After the trial run, my son and I took turns driving around the block to work out a few kinks (the old chain snapped and fell off the second time around the block).
Conclusion
This project took a few months of weekends and about $250 in parts. Supplies included several spray cans of primer and top coat, and about $25 of hardware.
*******************
Vintage Kart Identification
Because they are easily swapped from one to another, engines don't help to identify what you have.
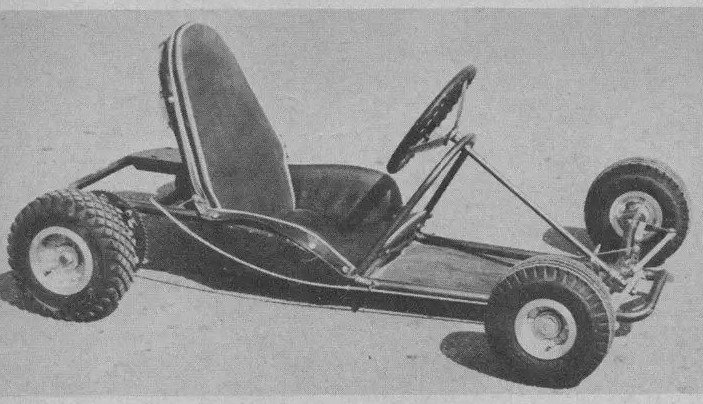
Visual Identification
If your kart has scrub brakes, it's likely from the 1960's. If your kart has disc brakes, it's likely from the 1980's.
Most post-1980s models will have a VIN or serial number on the driver or passenger seat frame.
In cases where a serial number cannot be located, you can often identify an old kart through pictures. Jump on the internet, google "vintage go kart" and start searching!
Also keep in mind that it may be a home-built kart with a custom frame. Look closely at the welds--manufactured karts generally have smoother welds than home-built jobs.
****************
Best Gas For Small Engines
Unless you will be using it up within two or three weeks, avoid buying ethanol-blended gas. Non-Ethanol fuel is much better for small engines, as it has a much longer shelf life. If you don't need a lot, consider buying canned gas, which is convenient but more expensive than pump gas.
Shop: Four-Cycle Canned Fuel
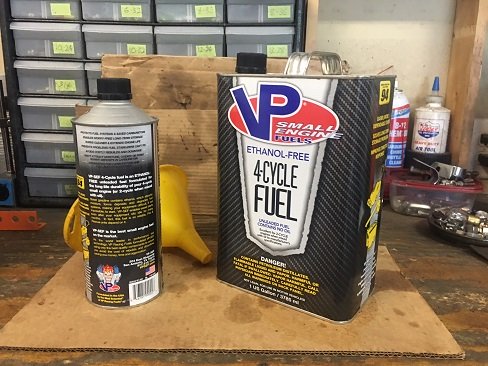
Shop: Two-Cycle Canned Fuel
*******************
Related Articles:
Classic Mini-Bike Build
Minibike History
